Disclaimer: No antiques or artifacts were harmed in the making of this project.
When I am not working at my job of helping our amazing state historic sites, I like to spend my time engaging in my hobby of painting. I don’t paint on canvas, nor do I consider myself an artist. I build and paint models, miniatures, and dioramas. It is a challenging hobby where you attempt to paint a chunk of plastic, metal, or resin to make it appear as a realistic representation of an actual item or person. Occasionally, I even get the opportunity to apply my hobby skills to my job. If you follow the 1883 Stutsman County Courthouse Facebook page, you might recall a post about my repainting the label on a Burrow’s Adding Machine that is part of the new civics exhibit. I also painted the handle on some surveyor’s tape and the finial on a couple of flag poles. My colleague and fellow Historic Sites Manager Rob Hanna had one more challenge for me. One of the pieces he purchased for the Stutsman Courthouse civics exhibit was a double inkwell. When it came in the mail, it did not look that great. It was shiny, full of flashing (remnants of the casting process) and some of the detail was missing. While the flashing was easy to remove with a metal file, adding a patina to it would require some thought.

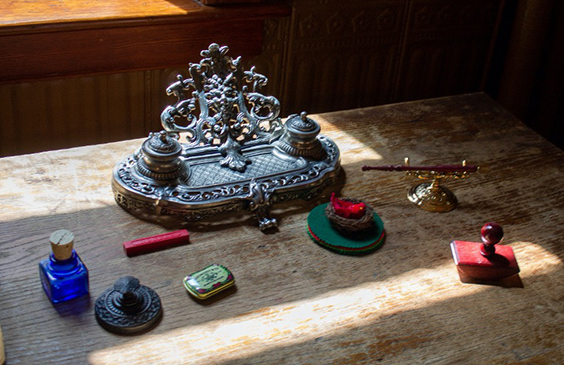
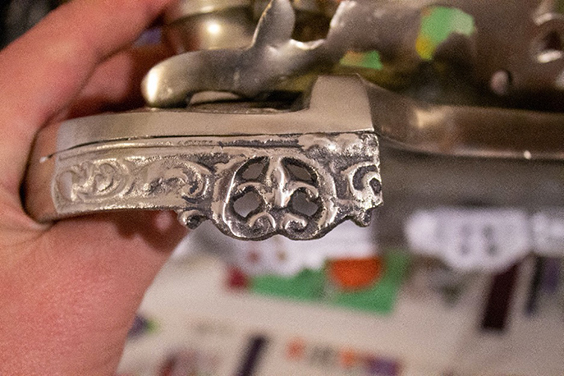
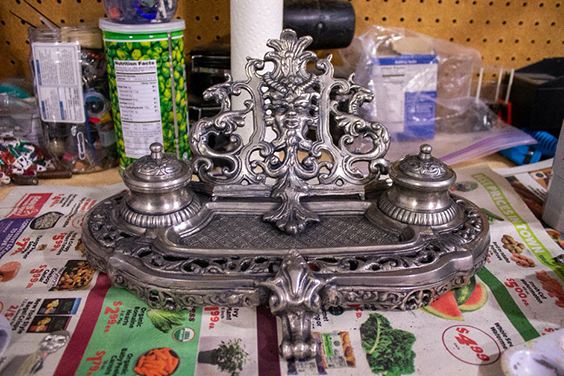
This is the inkwell after the flashing is removed and before weathering.
When trying to paint a part of a miniature that represents metal, there are two techniques used: true metallic metal (TMM) and non-metallic metal (NMM). TMM is when you use a paint that has metallic flake in it. Thanks to the flake in the paint, it has a reflective look that mimics metal. It tends to be an easier technique to learn. NMM is using paint that lacks the metallic flake, so the painter has to create gradients, shading, and highlights with multiple thin layers that create the illusion of reflective metal. It can be a hard concept to wrap your mind around.
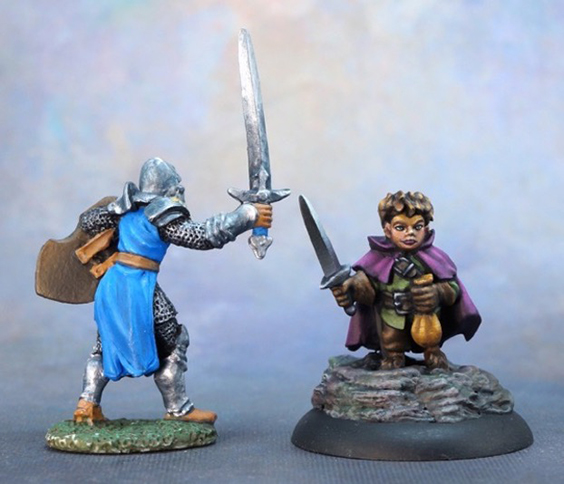
The knight is an example of TMM, and the thief is an example of NMM. Photo from the Bird with a Brush blog.
I bring up these techniques to explain what comes next. A couple of years ago, I learned a new recipe to add shading to my TMM painting. It is about creating a wash---paint thinned down to a watery consistency and painted over the figure to pool in the cracks and crevices---and then using it to weather the metal to make it look old and used. To make my wash, I am using several different paints that each have a specific purpose. Blue liner is the main ingredient in this recipe. Painters use liner paints to separate different colors on a model and have a specific consistency that fits that purpose.
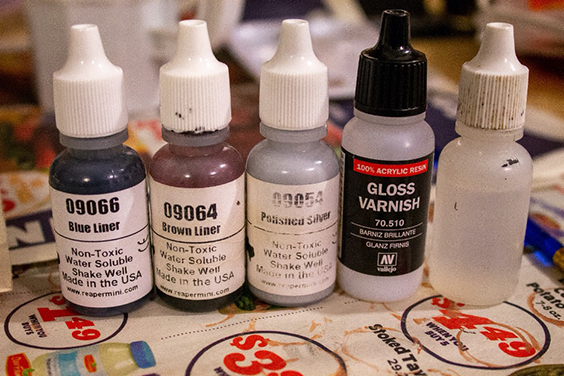
For this recipe, the blue and brown liners add color to wash. I need to add a metallic paint to mix to help maintain the appearance of metal. I tried to find one in my collection that would match the metal of the inkwell, and I settled on polished silver. The last component is a gloss varnish that is an acrylic resin. Once the wash dries, it strengthens it so that it can stand up to cleaning and helps preserve the luminosity of the metal. Once I have these paints mixed, I add drops of water until the paint has the right consistency.
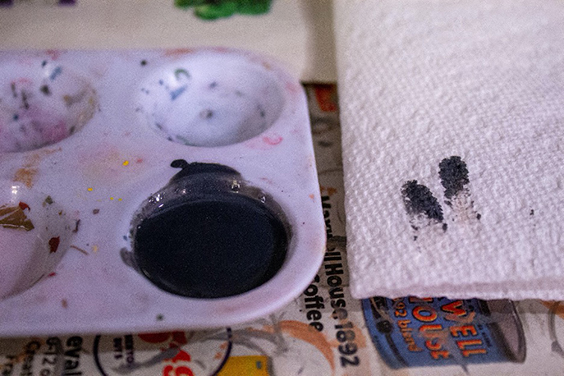
If you look at the lip of the pallet, you can see how the paint flowing back into the well is thin and translucent. That is the consistency that I want.
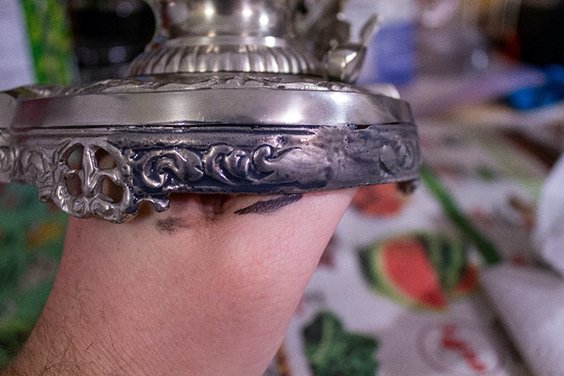
With my wash complete, I did a simple test to see how it would work on the inkwell. I chose a spot that was small and hidden away on the back of the inkwell. I applied the wash on a section, and then used a paper towel to wipe off the excess. What is left behind is a shaded metal where the raised portions pop out from the darker crevices.
I tested a section on the back of the inkwell.
After the success of the test, I began applying the process on the rest of the inkwell. I started at the bottom and worked my way to the top.
I applied the wash in small sections. Using a large brush, I slopped it on as I tried to make sure that if filled all the cracks and crevices.
I then used a paper towel to wipe the wash off the raised areas.
I continued this around the entire inkwell. Most places required two coats. In areas where I wanted to emphasize the shadow, I would wipe off less of the wash.
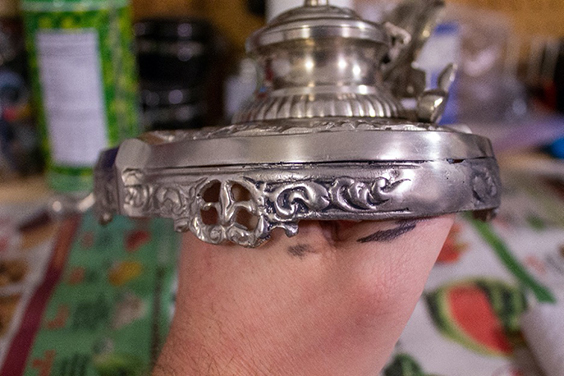
In-progress photo where you can see that the base of the inkwell now has a slight blueish tone, and the details stand out better than the upper parts of the inkwell.
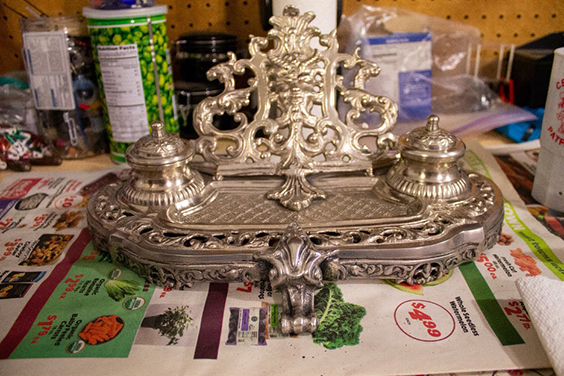
Completed progress on the inkwell.
Overall, I am thrilled with how this turned out. If you want to get a closer look at this inkwell, you can find it amongst the other beautiful items in the new civics exhibit at the Stutsman County Courthouse.