In October 2016 I wrote a “Year of the Plesiosaur” blog that showcased a chain of vertebrae from the neck of one of these Loch Ness-esque sea monsters. In a perfect world we would show the awesome size of this creature by hanging an entire cast of the skeleton (all 50 feet of it) in the Underwater World exhibit of the State Museum’s Adaptation Gallery: Geologic Time. However, we do not have the kind of space needed to facilitate that. What about hanging part of the cast instead? Even a portion of the 70-vertebrae-long neck is impressive to behold. As you enter Underwater World, there is a blank wall to the right of the mosasaur on display. We decided to paint the rest of the plesiosaur on the wall and have the cast neck and skull sticking out as a three-dimensional element.
Then the question was: what to paint? Do we paint a fleshed out creature and have the bones sticking out of the wall? Seems disconnected. How about a skeleton painted, and the 3D bones? Seems a little gruesome. What about an x-ray effect, with a fleshed out creature and the bones (real and painted) fading into obscurity? Perfect! What is the process now?

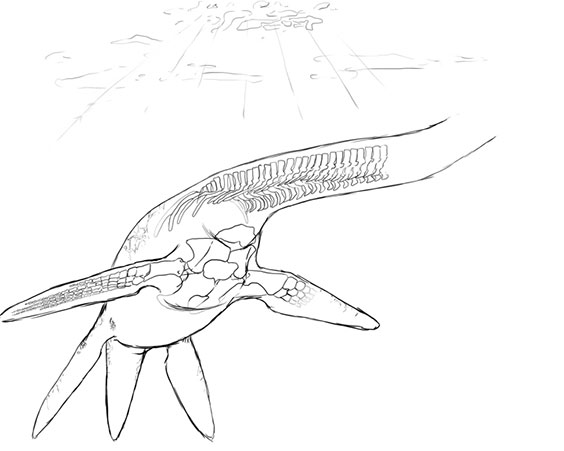
Initial sketch for the mural.
We measured the wall at 106” wide. Then we picked up a painting canvas at 40” wide. Since I’m the artist for this mural project, I can paint in the comfort of my office instead of pretending to be Michelangelo for weeks on end. The plesiosaur was drafted in a few different poses, until we found one that fit what we wanted. We needed an underbelly view, since the animal will be above the viewer. Take into account light sources, so there are not strange shadows. Next calculate how much the painting will need to be enlarged into a wall mural to fit the space (265%). Then check the size of the last cast vertebra – 9.5” tall. So, at 265%, the last painted vertebra needs to be 3.6” tall in order to fit the expanded painting.

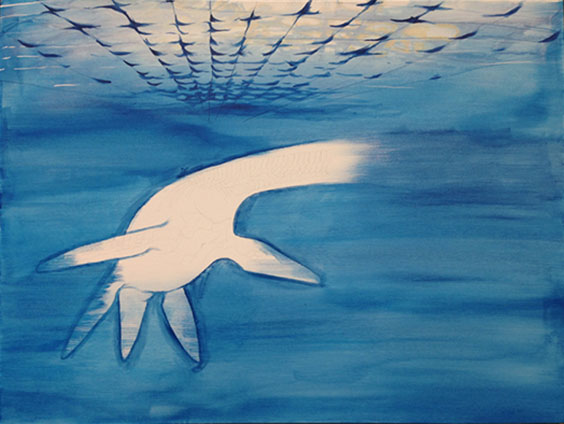
Washes of blue acrylic get rid of the white void, and actually make it easier for me to concentrate.
Now it is time to paint. Redraw the critter on the canvas and rough out my lighting and shadows. I like to do an underpainting of acrylic first to get rid of the blank white of the canvas. Nothing is worse than a big white canvas staring at you. Acrylic dries fast, which is good and bad. Good because I can get a lot of color on fast. Bad because I’m terrible at going back and blending with established (i.e. already dry) colors.

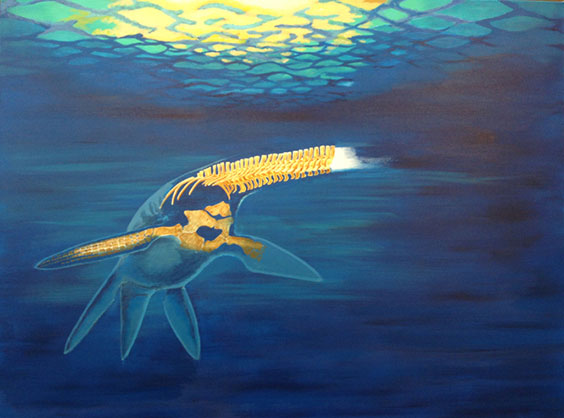
After layers of acrylic, the painting is just about ready for oil paints.
Once the underpainting is done, I start in with oil paints. Sadly I have an allergy to standard oils, but I’ve found a walnut-oil based paint that is low odor and is smooth like butter. The oils I can blend on palette, as well as on canvas. As of right now, the painting is almost done – I’m not going to show the final image, however, until our grand unveiling of the exhibit including the mural and cast neck and skull. So come by the museum on April 27 and you will be able to see the finished product!

