The Challenge of Traveling Exhibit Programs
When asked about the most challenging part of my job, the first thing that comes to mind is always the traveling exhibit program that circulates to some of the state historic sites our agency manages. While the exhibits staff writes labels, designs gallery layouts, and manages exhibit components, it is my role to care for the artifacts that go on display, from initial selection to final installation.
By the time I join the development process, a preliminary list of artifacts has been chosen by the exhibits staff. Often the items selected have not been examined in the recent past and important details such as size and condition are missing from our electronic database. A basic, bare-bones database entry can make something seem like a great choice for an exhibit, but sometimes upon actually seeing the artifact, it becomes clear that it won’t work. One example is a whale bone that, in the database, sounded like it would fit in my hand. When I actually found it in storage, it ended up being over six feet long! As we’re going through the process, we occasionally encounter unexpected situations that require us to adapt the original concept behind a case.

Sounding through a database description as though it could fit in the hand, this whale rib was planned for inclusion in an exhibit case. When I actually found it back in storage, it was over six feet long! We occasionally encounter unknown problems during the exhibit development process—sometimes due to size, but more commonly due to condition issues that make it unsafe to display an artifact.
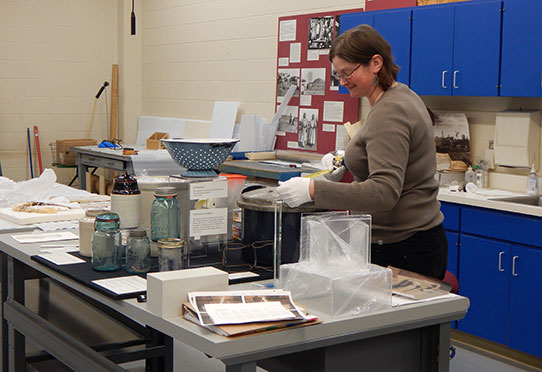
Once artifacts are selected and assembled, I update all the information in our database. I take photographs of everything going on display, in addition to taking measurements and writing condition reports. All of this provides a baseline for an artifact’s condition before it goes on exhibit and would make it easier for us to recover the item should it go missing.
The exhibits staff and I work together on mock case layouts here at the ND Heritage Center. Using outlines that match the size of the exhibit cases at the site, we take the artifacts assigned to each case and, through a process of trial and error, arrange them in a way that is visually appealing while not causing damage. Once a layout is decided, any special exhibit mounts are prepared, and then I pack the artifacts for transport.
Curator of exhibits Genia Hesser works on a mock case layout here at the ND Heritage Center. We need to ensure that artifacts will actually fit into the space provided and figure out if artifacts require supports or mounts. It is best to determine all of that prior to actually traveling to one of the historic sites, which are often very far from the resources we have in Bismarck.
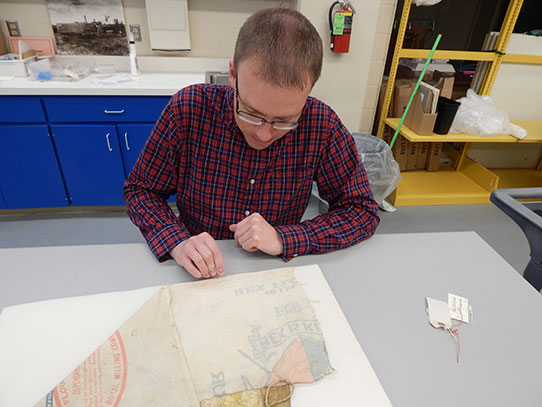
Some artifacts require special exhibit mounts that we fabricate in house. We determine what may need special mounts during the case layout process and create whatever is needed. I usually prepare mounts that come into direct contact with artifacts, so long as the mount is made of materials that don’t require power tools. Here I am sewing a legging to a soft mount for an exhibit here at the State Museum. I created the mount using corrugated plastic, polyester batting, and undyed muslin.
Packing the artifacts is a challenging balance between ensuring artifact safety and maximizing space. When possible, they are packed into cardboard boxes and wrapped in foam padding. Filling the state vehicle for the drive to the site could best be compared to a game of Tetris, only with pieces that are fragile and of historical significance. Sounds fun, right?
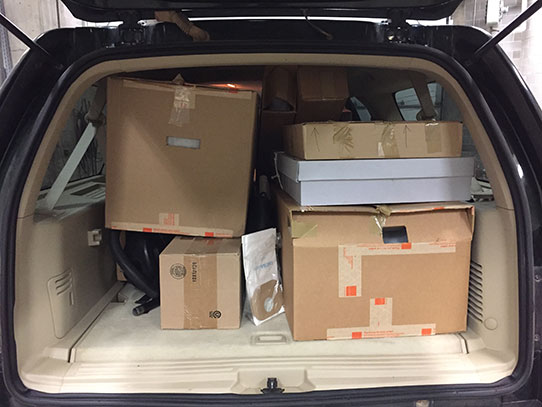
The loaded state vehicle, in this case a Ford Expedition, ready to go for our latest trip to the Missouri-Yellowstone Confluence Interpretive Center. Artifacts are wrapped in foam sheeting and placed inside boxes. It is a challenging mix of ensuring artifact safety while maximizing space.
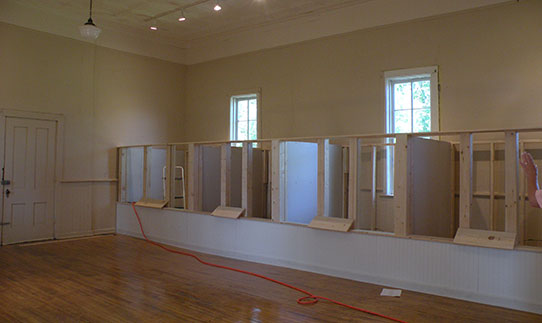
Once at the site, the outgoing exhibit is taken down and artifacts are packed up. While the exhibits staff reset the gallery and prepare exhibit components, I unpack the artifacts going on display. At any given time, there could be anywhere from 50 to 100 artifacts to keep track of between the two shows. With sites that are in some cases four or five hours from Bismarck, it is essential to be consistent and keep track of the artifacts so none get lost.
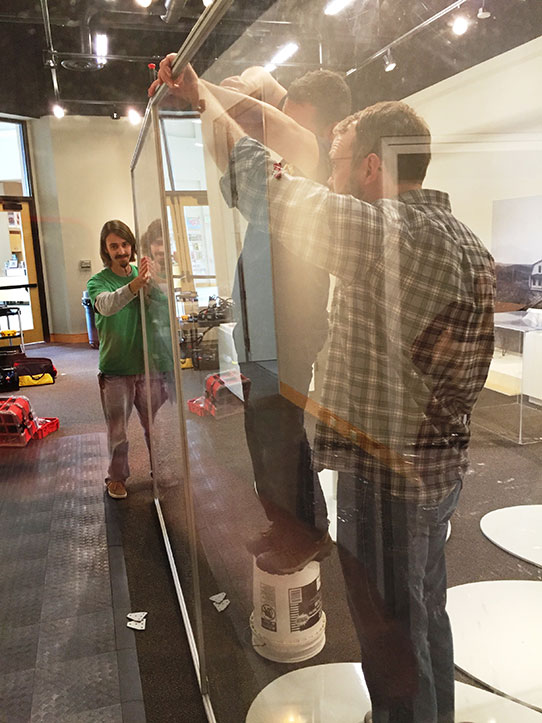
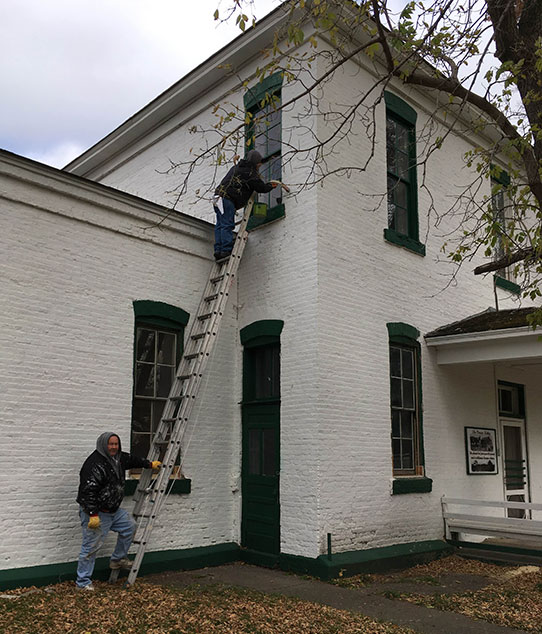
Once at the site, I pack artifacts from the outgoing show and unpack artifacts from the incoming, while the exhibit staff assembles, prepares, and moves exhibit components. Graphic designer Andrew Kerr, chief preparator Bryan Turnbow, and Museum Division director Mark Sundlov are seen at the Missouri Yellowstone Confluence Interpretive Center assembling a plexiglass wall for a trailer that went on display in the site’s newest temporary exhibit, about rural electrification cooperatives in North Dakota.
Once the gallery is laid out according to plan, we place the artifacts in the cases and arrange the labels. Then the plexiglass vitrines are lowered into place and cleanup begins. While the above paragraphs make it sound simple and quick, the installation is a long process that often involves at least one unexpected, but solvable, problem. At the end of it all, we head back to Bismarck with another carload of artifacts and start planning for the next installation.
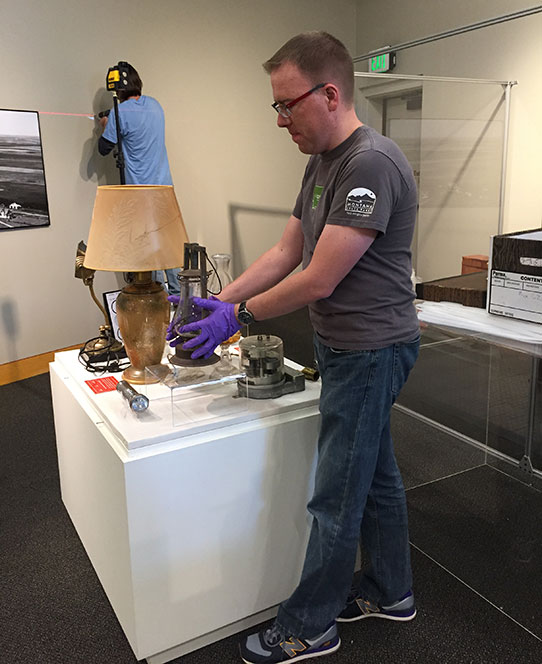
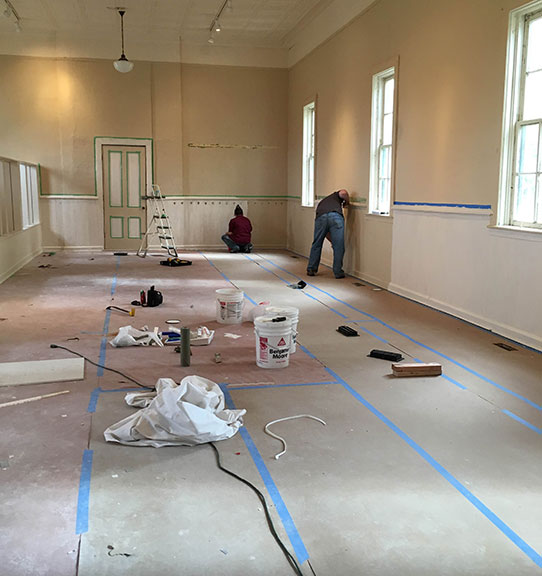
Once the gallery is reset and exhibit components are in place, we all work together to install artifacts in the cases according to photos we took of the case layouts back in Bismarck. Here I am putting the final touches on a case for an exhibit about rural electrification cooperatives at the Missouri-Yellowstone Confluence Interpretive Center. Once that is completed, plexiglass vitrines are lowered over the top and secured in place. In the background, graphic designer Andrew Kerr is using a laser level to hang photos and signage.

The finished exhibit. Each temporary exhibit represents weeks of work on the part of many staff members, in some cases from across our divisions. While the exhibit development process can be difficult at times, it is one of them most challenging, interesting, and rewarding things that I do!