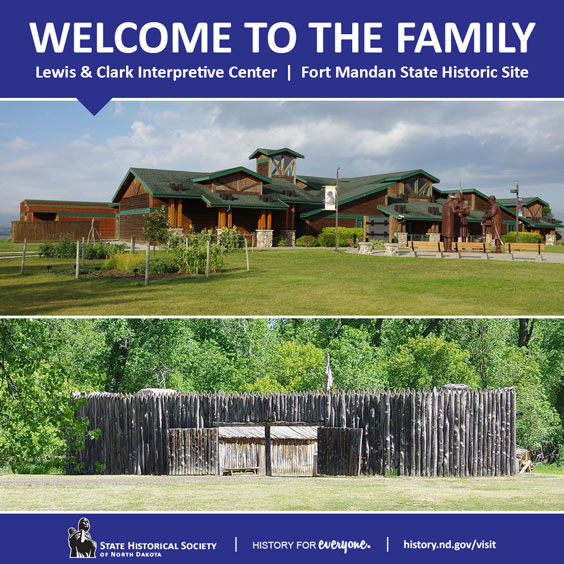
Expanding Our Missouri River Story with Two Transferred Sites
The State Historical Society of North Dakota has expanded! On July 1, the number of state museums and historic sites the agency operates became 59. We are excited to welcome the Lewis & Clark Interpretive Center and Fort Mandan State Historic Site into our family!
Since 2015 our friends at the North Dakota State Parks and Recreation Department had managed both of these sites in Washburn. However, during the legislative session earlier this year, lawmakers changed the century code and management was transferred to the State Historical Society. For visitors, this change will be imperceptible as hours of operation, tours, and staffing remain the same.
I understand that such a sweeping change can be unnerving to those experiencing it. Leaving the familiar for the not so familiar is hardly everyone’s cup of tea. It was for these reasons that we decided to make the transition as seamless and stress free as possible for the team at Washburn. Working with Parks and Recreation Director Andrea Travnicek, State Historical Society Assistant Director Andrea Wike and the respective teams at each agency, we devised a plan to begin the transition as soon as the Legislature finalized the bill.
We created eight transition groups to work with the various parts of operations that would need to be brought over. These included Historic Sites, Human Resources, Business Office, Concessions, Museum Collections, Technology, Maintenance, and Communications. Kevin Kirkey, then-Lewis & Clark Interpretive Center manager, and Historic Sites Manager Robert Hanna of the State Historical Society, were assigned to each team. Other staff from both agencies were assigned as needed. We began having meetings in the final weeks of May. Some of the questions to be answered included how to bring IT resources over, how to handle shifting security for the sites to our system, and how the gift shops and retail purchasing would change. We discovered and addressed subtle differences between the two state agencies.
These initial meetings went great, and before long detailed plans were in place for the July 1 transition. During the process, Kirkey decided to take on a new challenge within the state parks and recreation system. After a brief search, we selected Dana Morrison, the site’s interpretive coordinator, to replace Kirkey and become site supervisor.
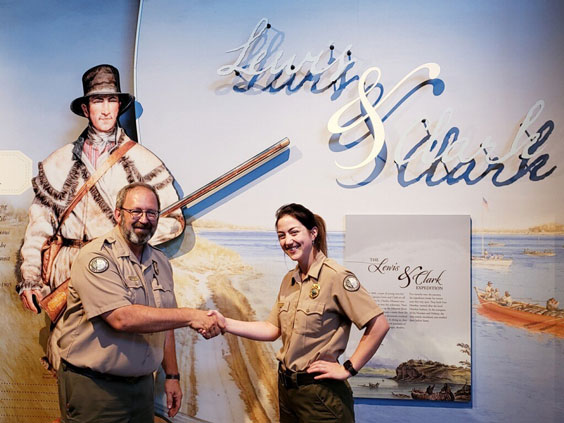
Former site manager Kevin Kirkey congratulates Dana Morrison on her promotion from interpretive coordinator to site supervisor.
The Lewis & Clark Interpretive Center and Fort Mandan are a remarkable addition to the State Historical Society, and, like our other sites, are now under the umbrella of the Archaeology & Historic Preservation Department. Prior to July 1, we were already responsible for the care and interpretation of key state historic sites along the Missouri River including Huff and Double Ditch Indian villages, Fort Clark and Mih-tutta-hang-kush Indian village, and Fort Buford. Adding the Lewis and Clark portion of the story allows for a more complete telling of the significant history that took place upon the banks of the Missouri from about 1400 to 1890.
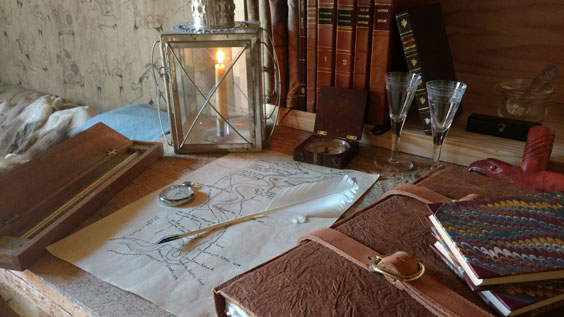
Recreation of Meriwether Lewis’ desk at Fort Mandan State Historic Site.
Operation of the Lewis & Clark Interpretive Center and Fort Mandan adds about 25,000 square feet of indoor space, as well as stunning new locations, excellent collections, and dedicated staff members. Our mission is the identification, preservation, interpretation, and promotion of North Dakota’s heritage. The Lewis & Clark Interpretive Center and Fort Mandan have found a perfect home.