10 Date Adventures to Try this Week: Check out these romantic outings at State Museums & Historic Sites
Whether you’re planning an outing this week with someone new or looking for a fresh activity to share with your longtime spouse, you’ll find plenty of unique date options at our state museums and historic sites. Explore beautiful North Dakota!
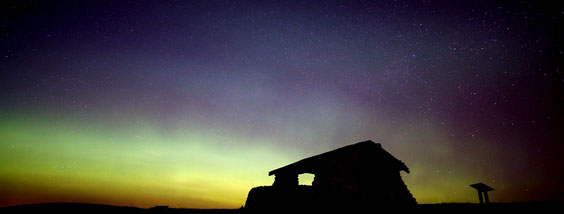
Photo by Johnathan Campbell
1. Watch a spectacular sunset on the Missouri River.
Take in a romantic riverfront sunset at Double Ditch Indian Village State Historic Site just seven miles north of Bismarck. Once the sun goes down, it’s also an amazing spot to stargaze.
Courtesy Grant Invie
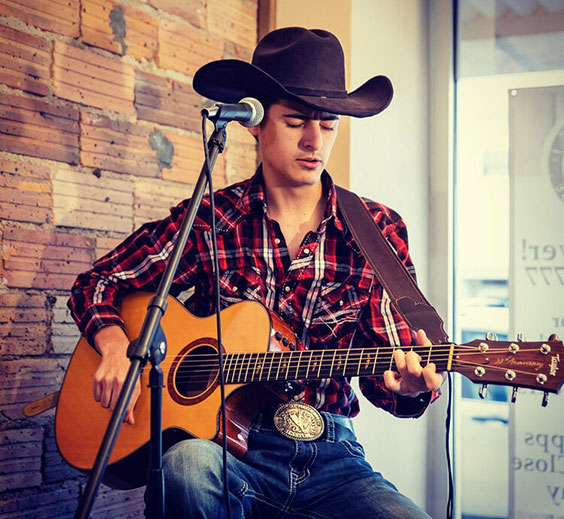
2. Cuddle during a free concert.
During Jamestown’s Buffalo Days on Saturday, July 24, treat your sweetie to a free concert by singer-songwriter Grant Invie, performing on the lawn of the Stutsman County Courthouse State Historic Site at 1 p.m. Invie, who hails from Moorhead, Minnesota, will make you swoon with classic country music with hints of gospel and rock-and-roll. Bring a blanket and get cozy on the lawn. No seating provided.
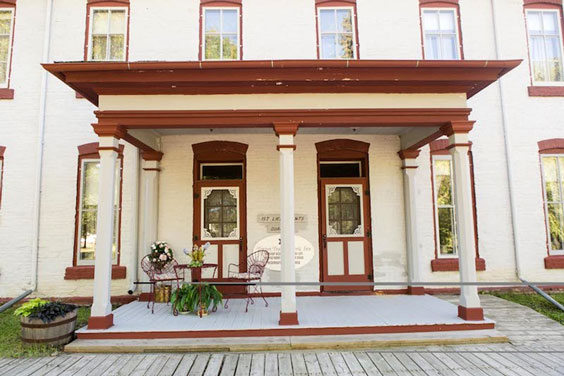
3. Stay “inn” tonight.
For a unique date night, explore Fort Totten’s 16 original buildings and spend the night within the fort! Enjoy a romantic stay at the Totten Trail Historic Inn located in one of these buildings. Let your darling know that you are “hopelessly devoted” during Fort Totten Little Theatre’s on-site production of “Grease.” The play runs through the end of July, so make plans today!
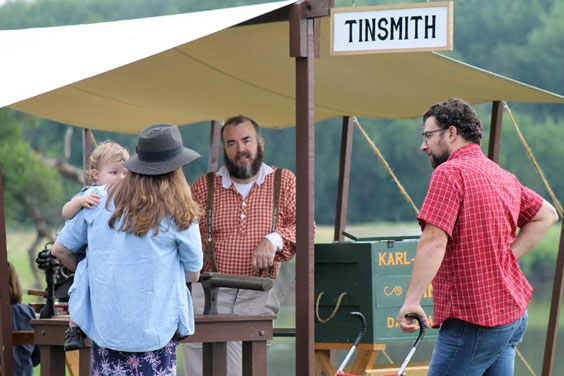
4. Attend Aber Days festivities.
On Saturday, July 24, spend the day together at the annual Aber Days at Fort Abercrombie State Historic Site. From 9 a.m. to 4 p.m., enjoy a vendor fair, Métis music, a blacksmith in action, historical authors Candace Simar and Carrie Newman, a Civil War sewing demonstration, a dream catcher demonstration, military reenactors, and more, then take in a local rodeo! Join the North Country Trail hike at 1 p.m.
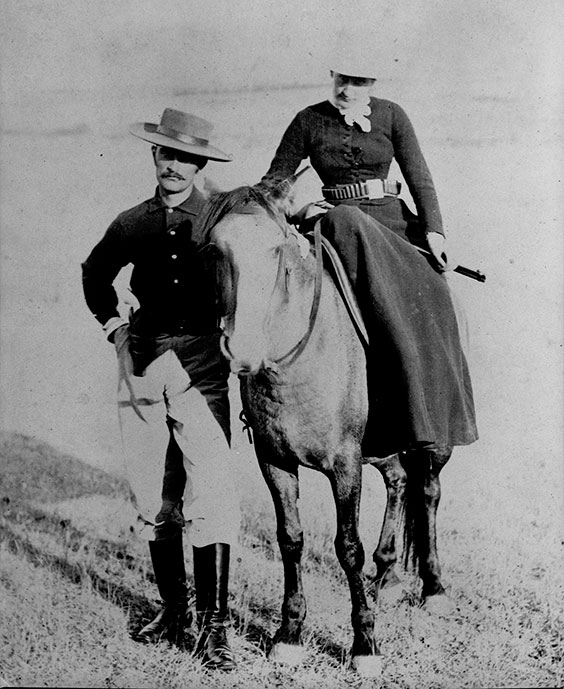
SHSND SA 00042-080
5. Check out one of North Dakota’s great love stories.
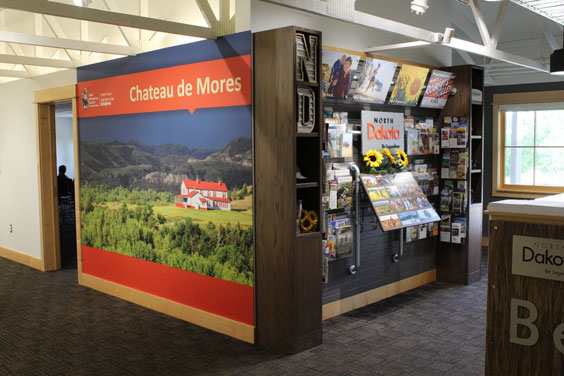
If you name a town for your sweetheart, it must be true love! Visit the Chateau de Morès in Medora to discover the swoon-worthy romance of the French entrepreneur Marquis de Morès and his bride, the Marquise (also known as Medora). Explore their unique summer home and the Interpretive Center. Then, snuggle with your sweetie during a Chateau wagon ride while taking in the stunning Little Missouri River and Badlands views.
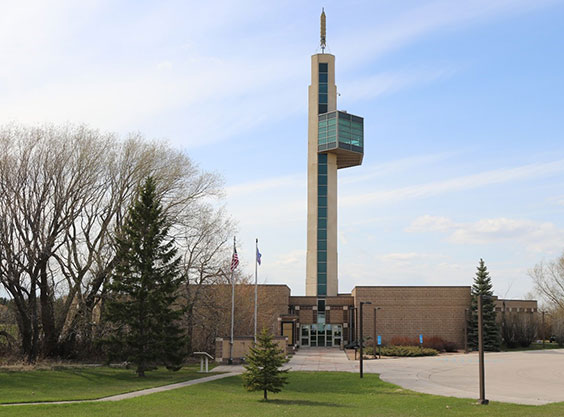
6. Take your relationship to new heights.
Ride the glass elevator to the top of the seven-story observation tower for beautiful prairie views of the Red River Valley across North Dakota, Minnesota, and Manitoba at the Pembina State Museum. Can you see where Canada begins? Discuss what borders mean for countries, states, and individuals.
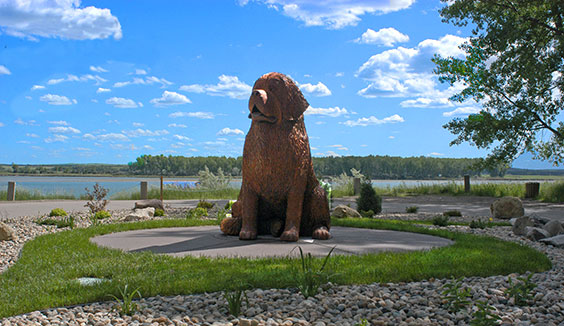
7. Plan a day trip and picnic.
Plan a day trip to the Lewis & Clark Interpretive Center and Fort Mandan State Historic Site in Washburn. Selfie photo ops abound at the larger-than-life statues of Meriwether Lewis, William Clark, Sheheke, and Seaman the dog. Take in the cool exhibits, unpack a romantic feast at a Fort Mandan picnic table, and hike the Washburn Discover Trail to see native plants documented by Lewis and Clark.
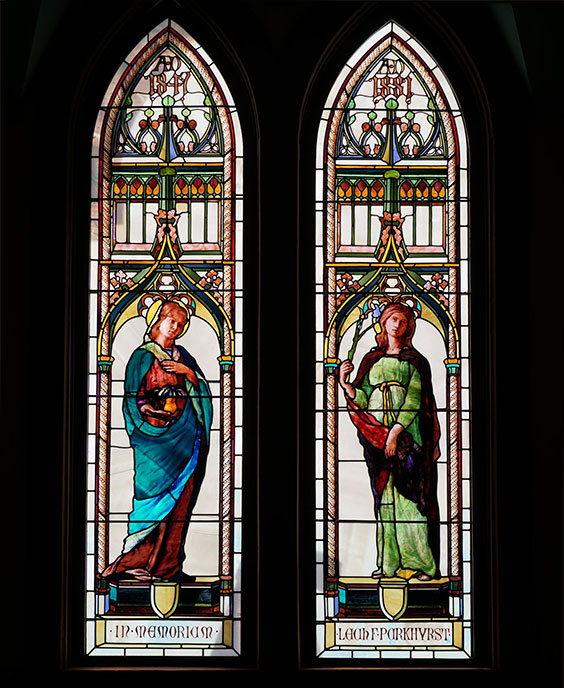
8. Encounter the old and new.
If your date has a passion for history, they’ll love exploring the treasures available right in downtown Bismarck at Camp Hancock State Historic Site on Main Avenue! Here, you’ll find the city’s oldest standing building—once part of a military post and supply depot. Take in exhibits on local history and the U.S. Weather Bureau station once housed there. Don’t forget to check out the newly recreated Weather Bureau offices upstairs. Then pop into the tiny but lovely 1881 Bread of Life Church, where summertime weddings still take place. It’s the oldest church in the city. Admire the workmanship of the 1880s stained glass windows by renowned artist John La Farge.
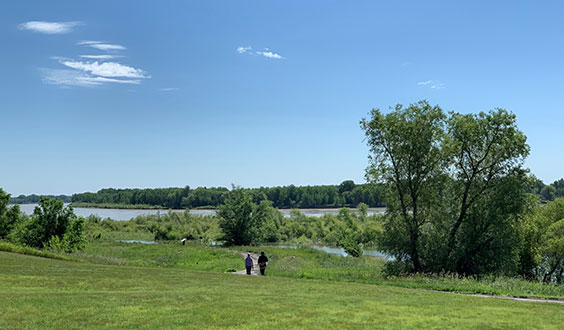
9. Explore a tale of two rivers.
Walk the trails along the peaceful place where the Missouri and Yellowstone rivers merge not far from the Missouri-Yellowstone Confluence Interpretive Center near Williston. This is also a great birdwatching spot for lovebirds! Inside the Interpretive Center, find exhibits to explore and a store to purchase a memento of your special day.

10. Chill on a hot day with Romeo and Juliet … and Julius Ceasar.
Attend two Shakespeare productions of passion and intrigue this week at the North Dakota Heritage Center & State Museum in Bismarck! Catch the Young Bards’ free performance, “Shakespeare Our Way,” at 2 p.m. on July 25 in the Russell Reid Auditorium. The Young Bards, Capitol Shakespeare’s youth theater program, will perform scenes from "Romeo and Juliet," "The Merchant of Venice," "Much Ado About Nothing," "The Two Gentlemen of Verona," and "A Midsummer Night’s Dream." Or bring a date to “Julius Caesar” being performed by Capitol Shakespeare actors at the outdoor Prairie Amphitheater, July 21-25 at 7 p.m. Bring chairs or a blanket!


