


Back in May 2019, I blogged about my cataloging and organization project at the State Historical Society of North Dakota’s off-site storage facility, Storage East. Much has happened since then, so I want to take you on a tour of what the collections crew has been up to!
In early 2020, we purchased new shelving for the rooms to maximize storage space. Some already had shelves installed, but these were warped and did not meet our needs as far as adaptability. Those shelves were taken down to be replaced with pallet shelving. We also made use of existing plywood, which we cut to the size of the units to create shelves.
The collections team, with the help of muscles from our other State Historical Society coworkers, has been going through Storage East room by room to update the shelving. The process goes a bit like this handy-dandy numbered list:
1. Clear out individual rooms to install shelving. This involves tracking where the artifacts are moved, so we can still find them in their temporary locations.
2. Install shelving. Sometimes our initial plans get changed during the implementation process. Occasionally, whole shelves are eliminated to allow for the retrieval of objects, with enough space between the aisles for people and objects to move safely.
3. Planning the spaces. This is the stage where we get an idea of what types of objects will go into the newly cleared space. For example, because the collection has many trunks, we decided to consolidate them into one room. Then we adjusted the shelving to make sure it would fit all the trunks and other intended objects, and that the space was used as efficiently as possible.
4. Place Ethafoam. Once the shelves are in position, we place a sheet of Ethafoam where the objects will be stored; this ensures there is an acid-free barrier between the objects and the shelf’s wood.
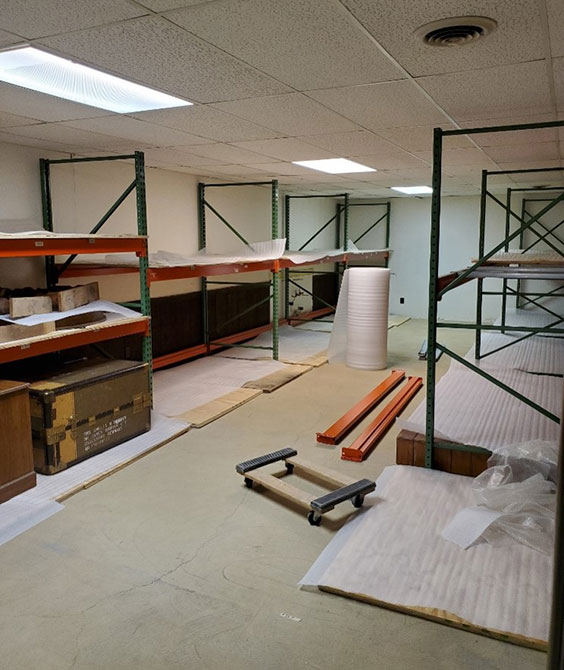
A (mostly) empty room in Storage East, with shelves under construction.
5. Moving in. Now it’s time to move objects onto their new shelving. Paying attention to any condition issues, we inventory each object’s new room and shelf number, so we know exactly where to find it when needed for an exhibition or to show a visitor or researcher. No lost things allowed!
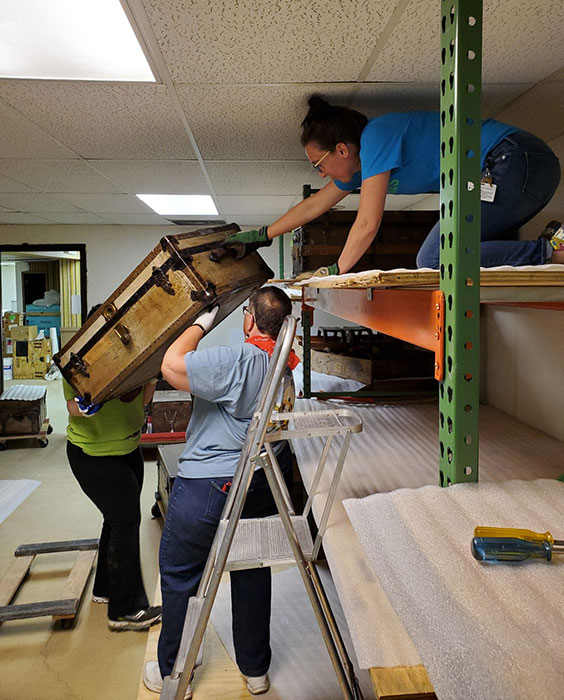
Getting trunks into position with a little overhead help.
6. Celebrate the improved storage organization. The rooms we reorganized have huge improvements in storage capacity. For example, one room went from housing 62 objects to 148. That’s a 138% increase in objects housed for just one room!

Left: Before reorganization.
Right: After we worked our magic.
Not only are we storing more objects in these rooms, but the space is now better organized and the objects are more accessible, making their retrieval both safer and easier (for the objects and collections staff). Wins all around!