A People’s History of the Plains: Rad Women and Girls
When I discovered Howard Zinn’s People’s History of the United States two decades ago, it rocked my world. The stories of Indigenous peoples, women, slaves, and the working class were a revelation beyond the whitewashed textbook history taught in my public high school.
Today’s historians have gotten better about telling stories of the marginalized, though we still have a long way to go to disrupt the dominant narrative written by “the winners.” This is why I’m excited to direct you toward our North Dakota Studies curriculum, specifically to People Living on the Land, which contains primary sources and commentary on the lives of the everyday North Dakotans who shaped our history.
In honor of Women’s History Month — and March Madness, which we’ll get to in a bit — check out five links on North Dakota’s remarkable, but too often overlooked, women and girls.
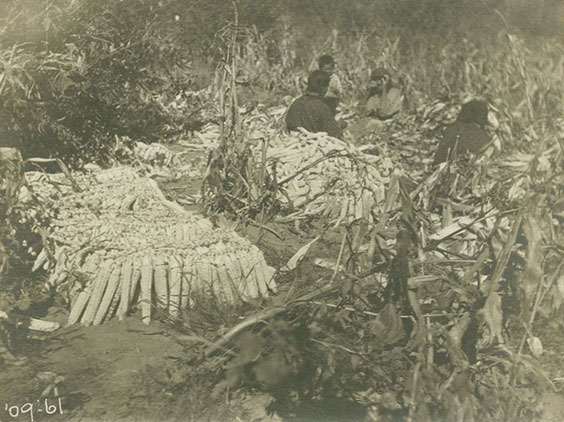
Women braid corn for drying. SHSND 0086-0277
1. Corn farmers
Mandan, Hidatsa, and Arikara women traditionally handled agricultural production for their tribes. Women grew sunflowers, beans, and squash, in addition to multiple varieties of corn, providing a reliable source of nutrition and wealth.
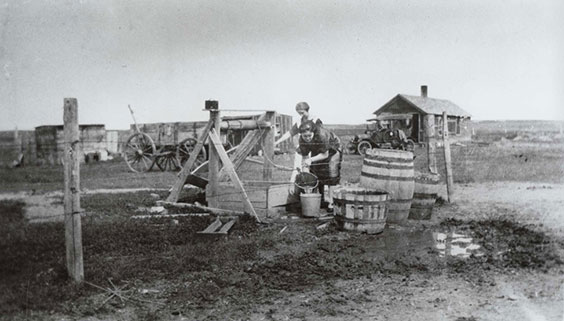
Drawing water from a well, used for washing, cooking, cleaning, and bathing, was one of the heaviest chores a woman had to complete. SHSND 2009-P-012-006
2. Hired girls
Among settler families, teenage girls and young women often found work as “hired girls,” helping farm families with the demanding domestic tasks of childrearing and farmhouse life.
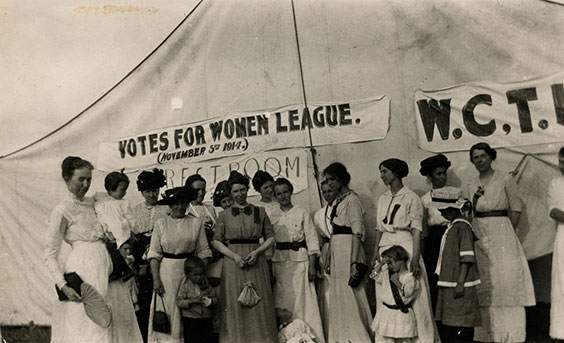
While campaigning for the woman suffrage law, the Votes for Women League hosted a tent at the 1914 Bottineau County Fair. SHSND 10204
3. Suffragists
As we prepare to celebrate the 100th anniversary of U.S. woman suffrage in 2020, it’s enlightening to look back on the women dressed in white a century ago. Even before passage of the Nineteenth Amendment, white women in Dakota Territory could vote in local school elections starting in 1883. Native American women fully gained the right to vote, along with U.S. citizenship, in 1924.
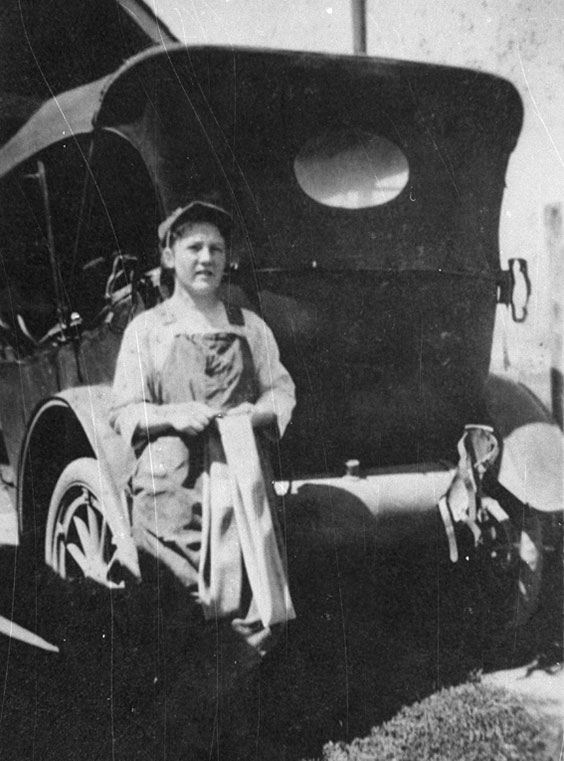
Veronica Brown of Cass County patches the inner tube of a tire circa 1918. SHSND 0032-CS-06-14
4. Mechanics
Women began driving as soon as cars appeared in North Dakota, and even some girls learned to drive, such as 12-year-old Esther Nichol who made deliveries for her father in Souris. During World War I it is likely more women began to work as mechanics since so many men served overseas.

Athletes compete at Bismarck Indian School, an all-girls boarding school. SHSND 11113-73
5. Basketball stars
Enter hoops madness! Girls’ basketball became a competitive sport in the first half of the 20th-century in North Dakota, when girls began playing half-court games in bulky woolen uniforms. Uniforms and skills improved up until girls’ basketball was suspended in 1960. The game was reinstated for North Dakota girls in 1973.