Understanding the Importance of Tinware Production throughout History
Although tin as a metal has been used for thousands of years, its use as a coating for metal plate dates only to the 16th century. Historical records suggest the first manufacture and use of tinplate was in Bohemia (now a part of the Czech Republic) and parts of southern Germany. A coating of tin on thin metal plate provides a rust inhibitor. Because it’s non-toxic and food-safe, tinplate is a useful material for making cups, bowls, and plates.
Tin, which is contained in an ore called cassiterite, was mined in various places historically, including perhaps most famously in the British county of Cornwall. Cornish mines provided tin to the ancient Romans when they occupied what they called ‘Britannia’; later, Cornish tin was exported to Bohemia and other centers of tinplate production as a raw material. But the secret of how tin was made to coat very thin iron plates was kept a secret for many decades, until a bit of early industrial espionage made the secret available to the English in the third quarter of the 17th century. The impetus for covertly acquiring this knowledge was declining tinplate availability in England. The English (like many others) had been importing finished tinplate from the Bohemians and other producers for many decades. A shortage of tinplate, however, made them want to discover the secret of making it for themselves. An Englishman named Andrew Yarranton traveled to Germany in 1665-1667 with the express purpose of touring facilities and learning the process of making tinplate. Having learned the manufacturing process, Yarranton brought that knowledge back to England. Combining Cornish tin with thin iron sheets milled in Wales, British tinplate manufacturing took off rapidly.
The first tinsmiths came to the American colonies from England in the mid-17th century and began producing tinware for the colonial market. Tinware proved popular, and the few tinsmiths found themselves with more work than they could handle. This situation led to the training of new tinsmiths and to the creation of new foundries to produce tinsmith’s stakes and other tools. By the US Civil War, much tinware was being made in factories, although nearly every town across the country still had a working tinsmith who produced tinware for sale and made repairs.
Tinware remained popular until the 1920s and 1930s, when it began to be replaced with aluminum and stainless steel and later, plastics.
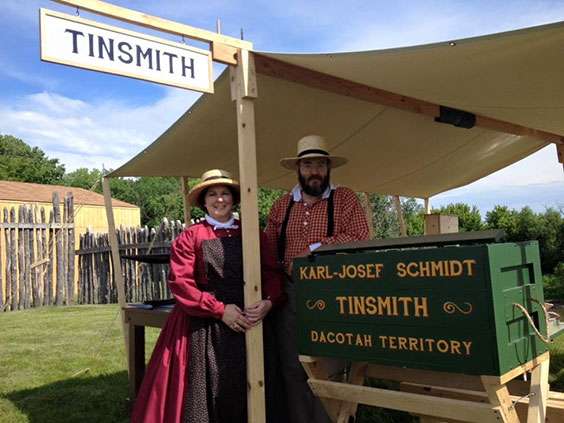
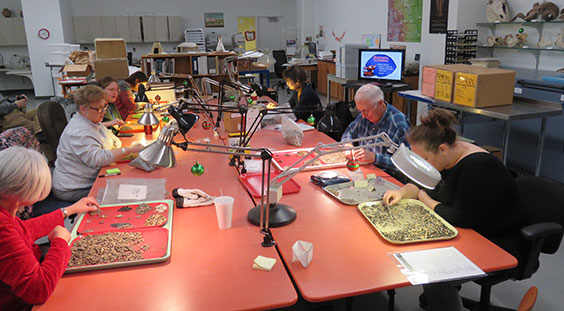
Karl and Nadine Schmidt tinsmithing at Fort Abercrombie, June, 2016
A friend of the Fort Abercrombie State Historic Site, Karl Schmidt developed an interest in tinsmithing after he met a working historical tinsmith at the Brookings Summer Arts Festival in South Dakota some 12 years ago. Karl was fascinated by how the tinsmith turned flat sheets of tinplate into useful items. In spring 2014, Karl learned that the resident tinsmith at the Stuhr Museum of the Prairie Pioneer, Loren Miller, was offering a weekend in Nebraska. Karl and his family signed up. For Karl, this was the beginning of a new adventure.
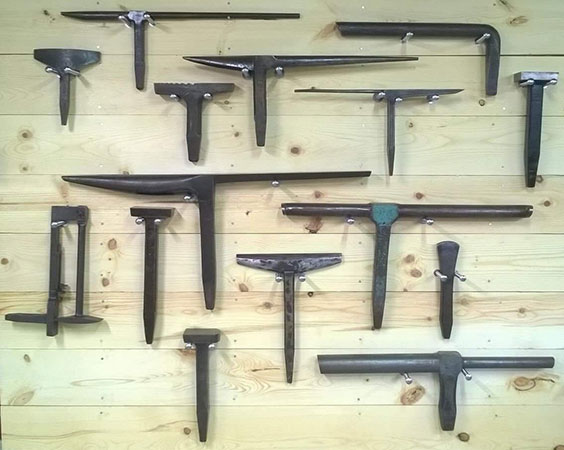
Historical Tinsmithing tools
By spring 2015, Karl decided to become a working historical tinsmith (one who makes primarily historical tinware reproductions and uses primarily antique tinsmith’s tools). He found tools and hand-crank machines on Ebay. Some tools, like the tinner’s stakes, were ready to use, but some items, particularly the tinner’s machines, needed careful restoration work, which Karl did himself.
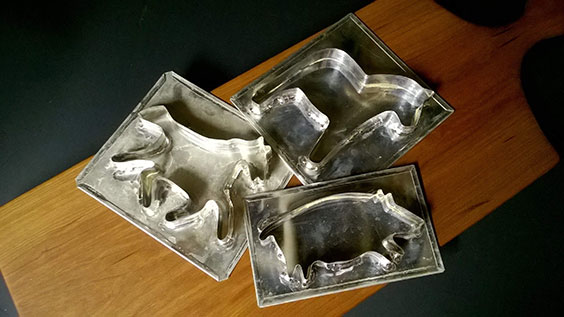
Tinware by Karl Schmidt
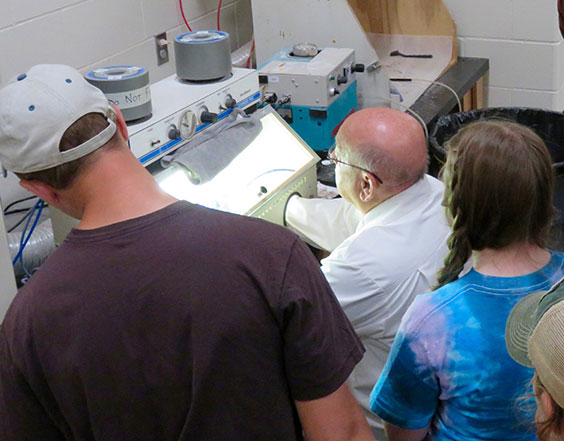
In June 2015, Karl met William McMillen, arguably the best-known and most accomplished historical tinsmith in the country. Two months later, he attended McMillen’s week-long tinsmithing workshop, learning the fine points of historical tinsmithing, and making a variety of projects.
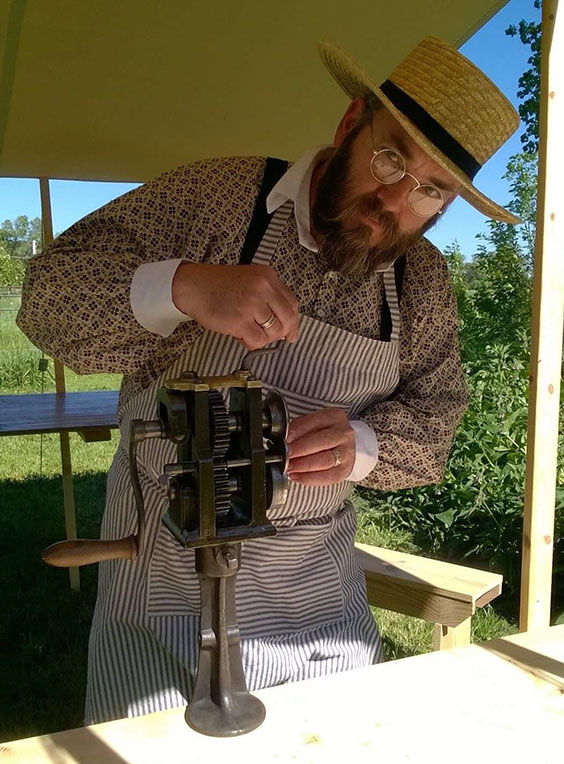
Tinsmith Karl Schmidt working with period tools
With excellent training under his belt and a tin shop full of tools, Karl began to make tinware and demonstrate his craft. Karl first demonstrated tinsmithing Fort Abercrombie State Historic Site for the Living History Weekend in June 2016.He continues to demonstrate his craft each summer in historical dress, using his 19th century tools.
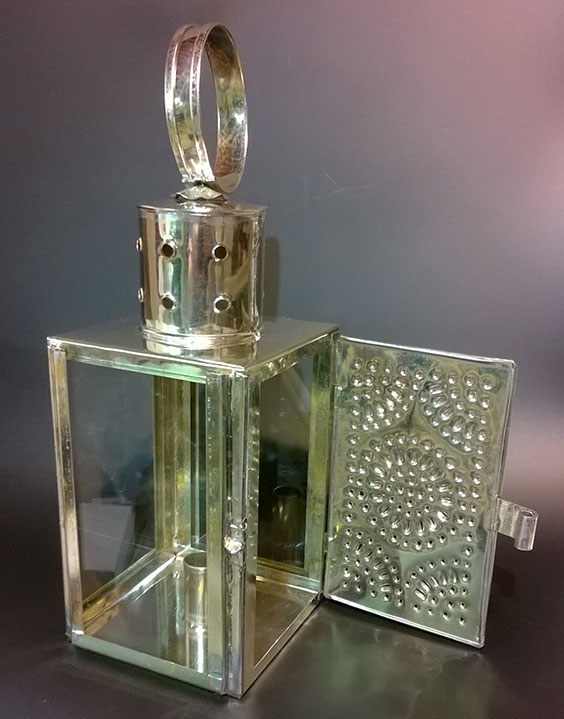
Lanterns by Karl Schmidt
If you are interested in meeting Karl and watching the art of tinsmithing, join us for Fort Abercrombie State Historic Site’s opening day on Saturday, May 26, 2018. Karl and his family will be demonstrating and having wares for sale at this event and at Fort Abercrombie Living History Weekend, June 9 – 10.
Photos and history summary courtesy of Karl Schmidt.