Growing Outdoor Interpretation at the Pembina State Museum
We’ve had a late spring here in Pembina, and I’ve been eager to get back outside. One of my passions is gardening and with the ground thawed and the air warm I’m finally getting my hands dirty again—literally! Spring cleanup in our interpretive garden, which features many plants native to the Red River Valley, is well underway.
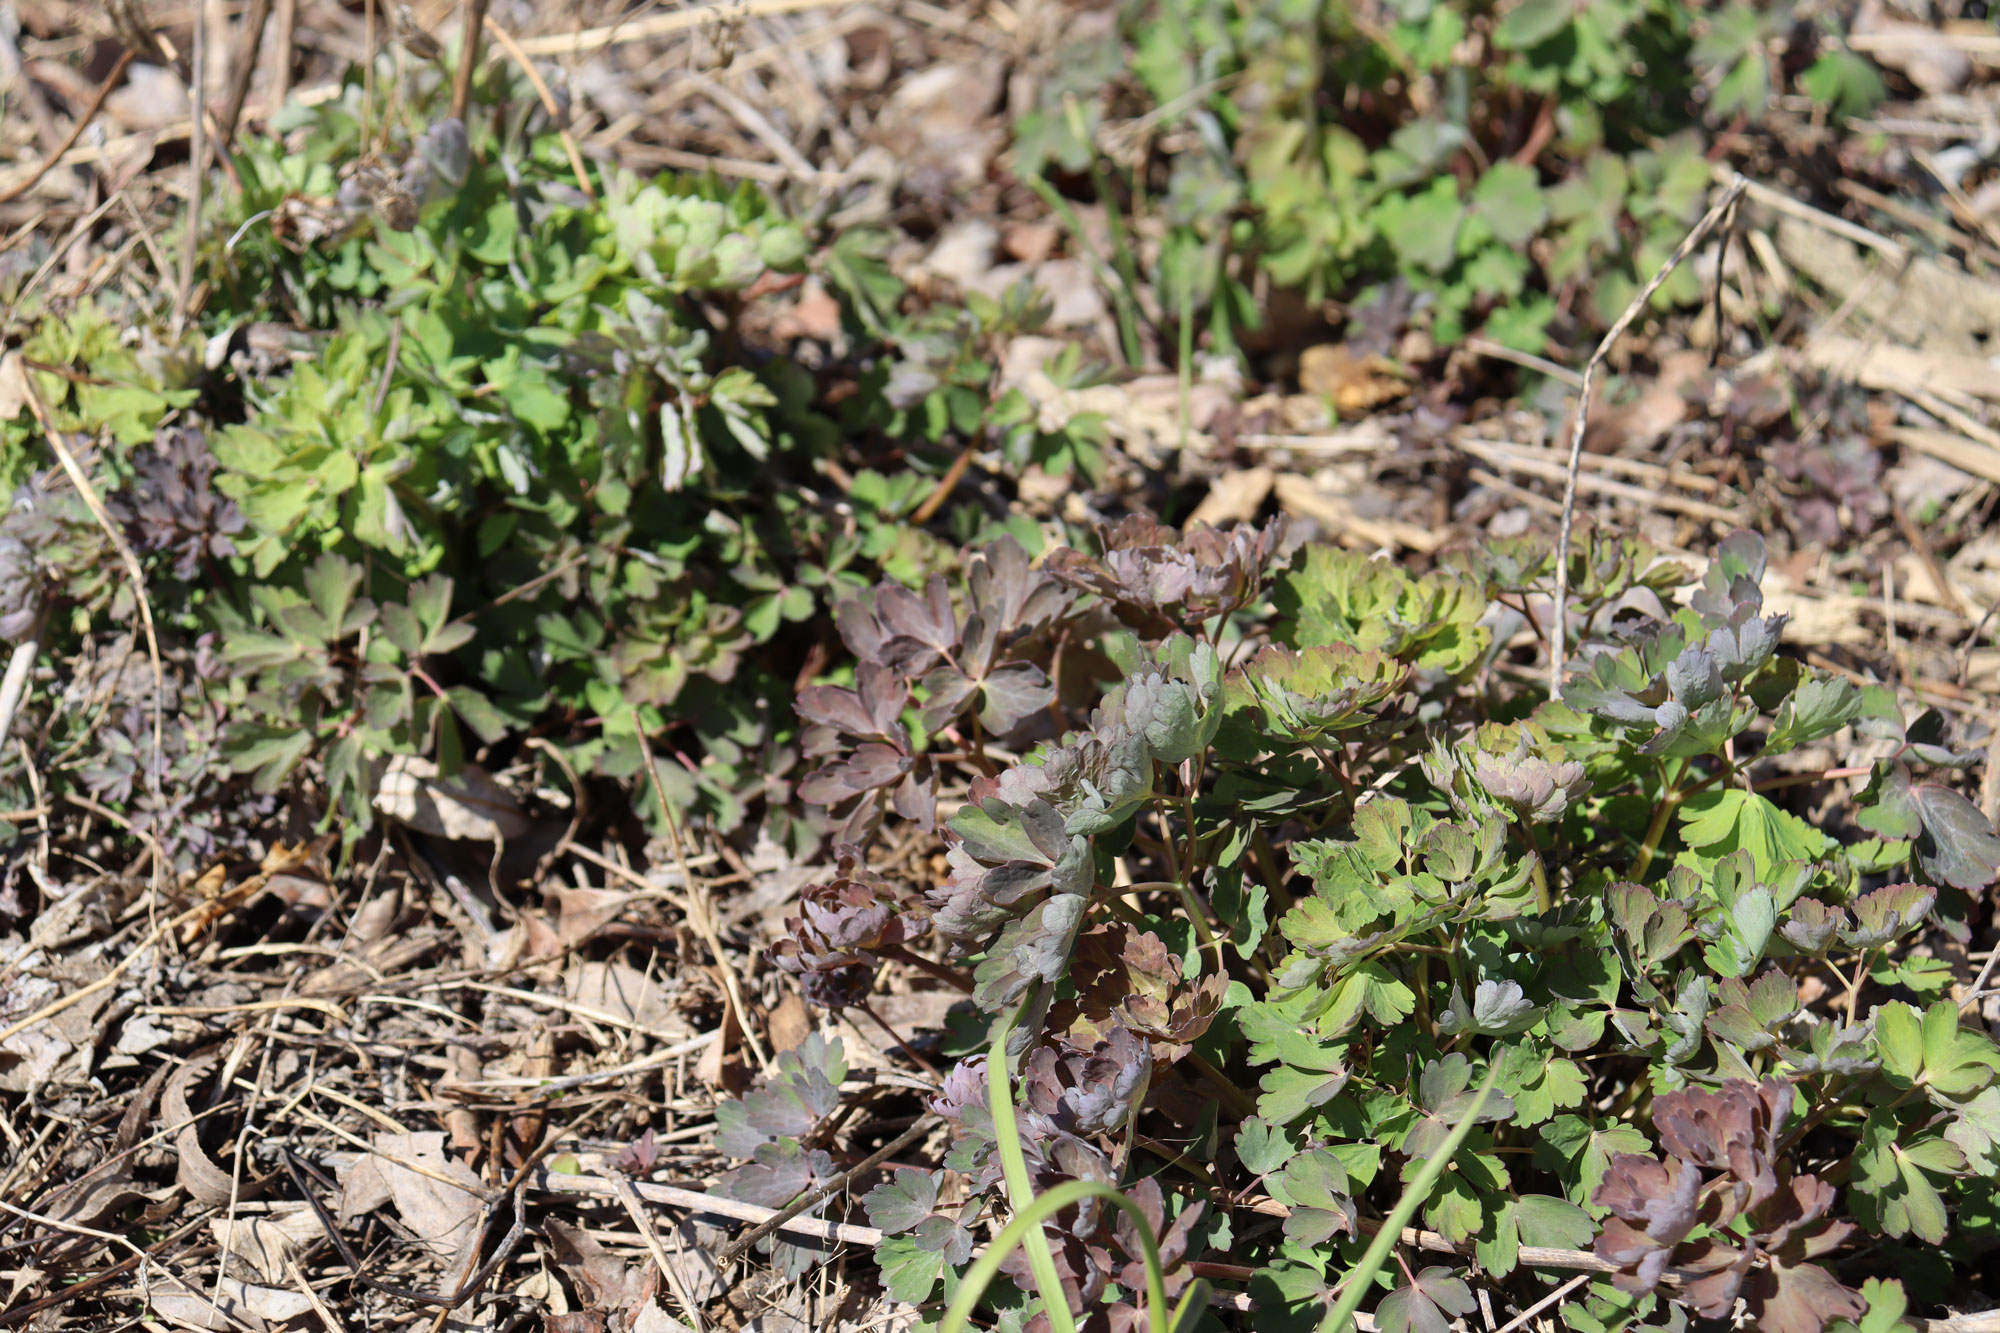
The first sprouts of spring!
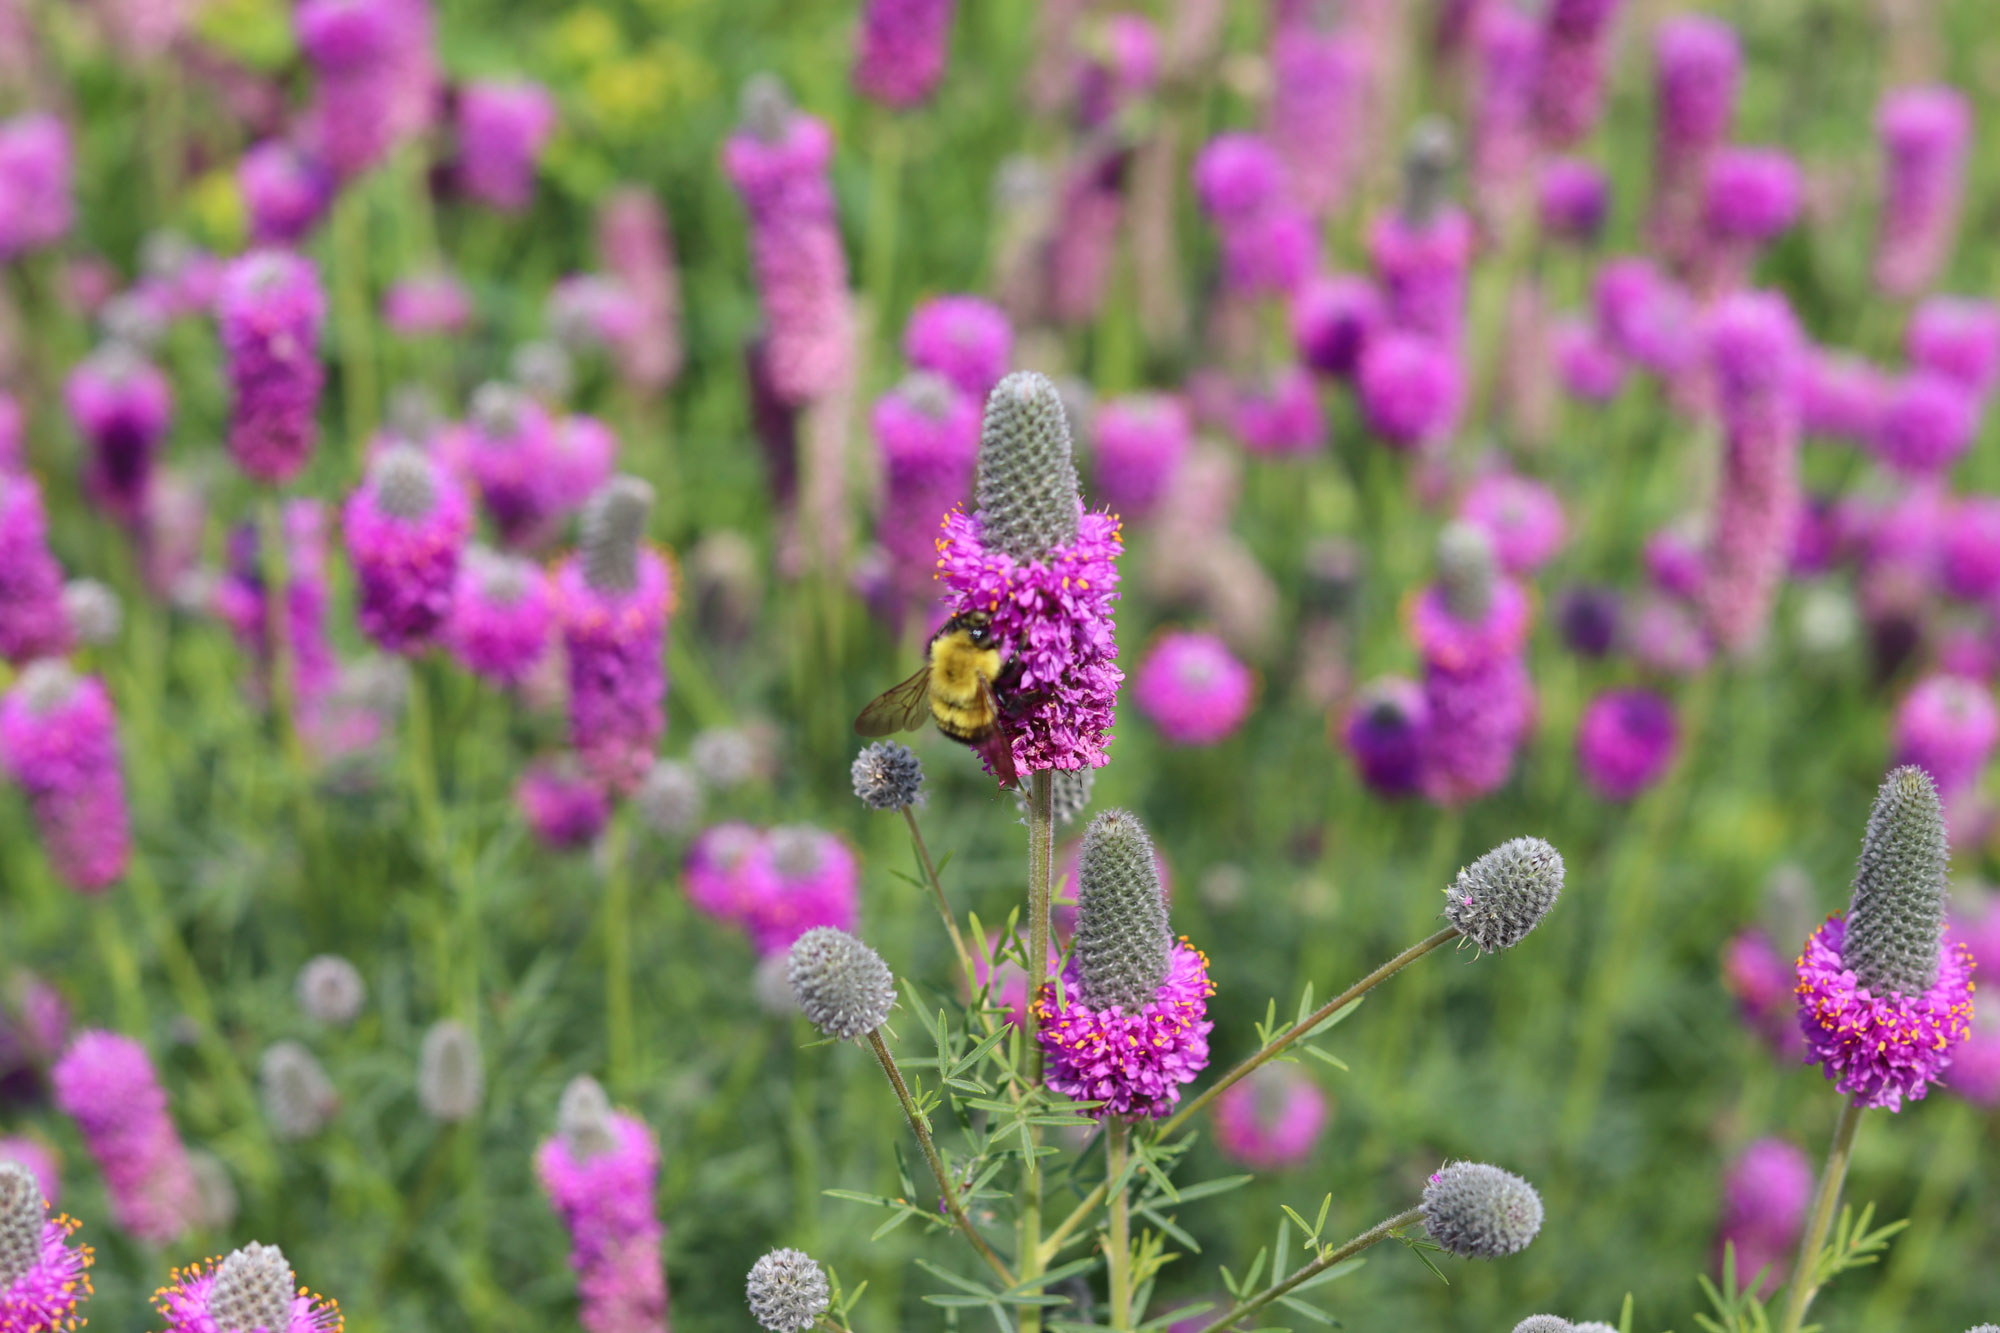
The Pembina State Museum garden is an ongoing project that started in 2021. We’ve arranged different native species as a decorative and informative addition to the front of the museum. Layered from back to front are red osier dogwoods, smooth sumacs, junipers, wild onions, columbine, bluebell, highbush cranberry, and purple prairie clover.
The garden acts as a great source of food for local pollinators and other wildlife.
This year I hope to make even more additions to the garden and the wider museum grounds. Now that the sumac is well-established and under control, I intend to add lady ferns underneath where they will have plenty of shade. (Woe to anyone who plants sumac without doing their research—they spread fast!)
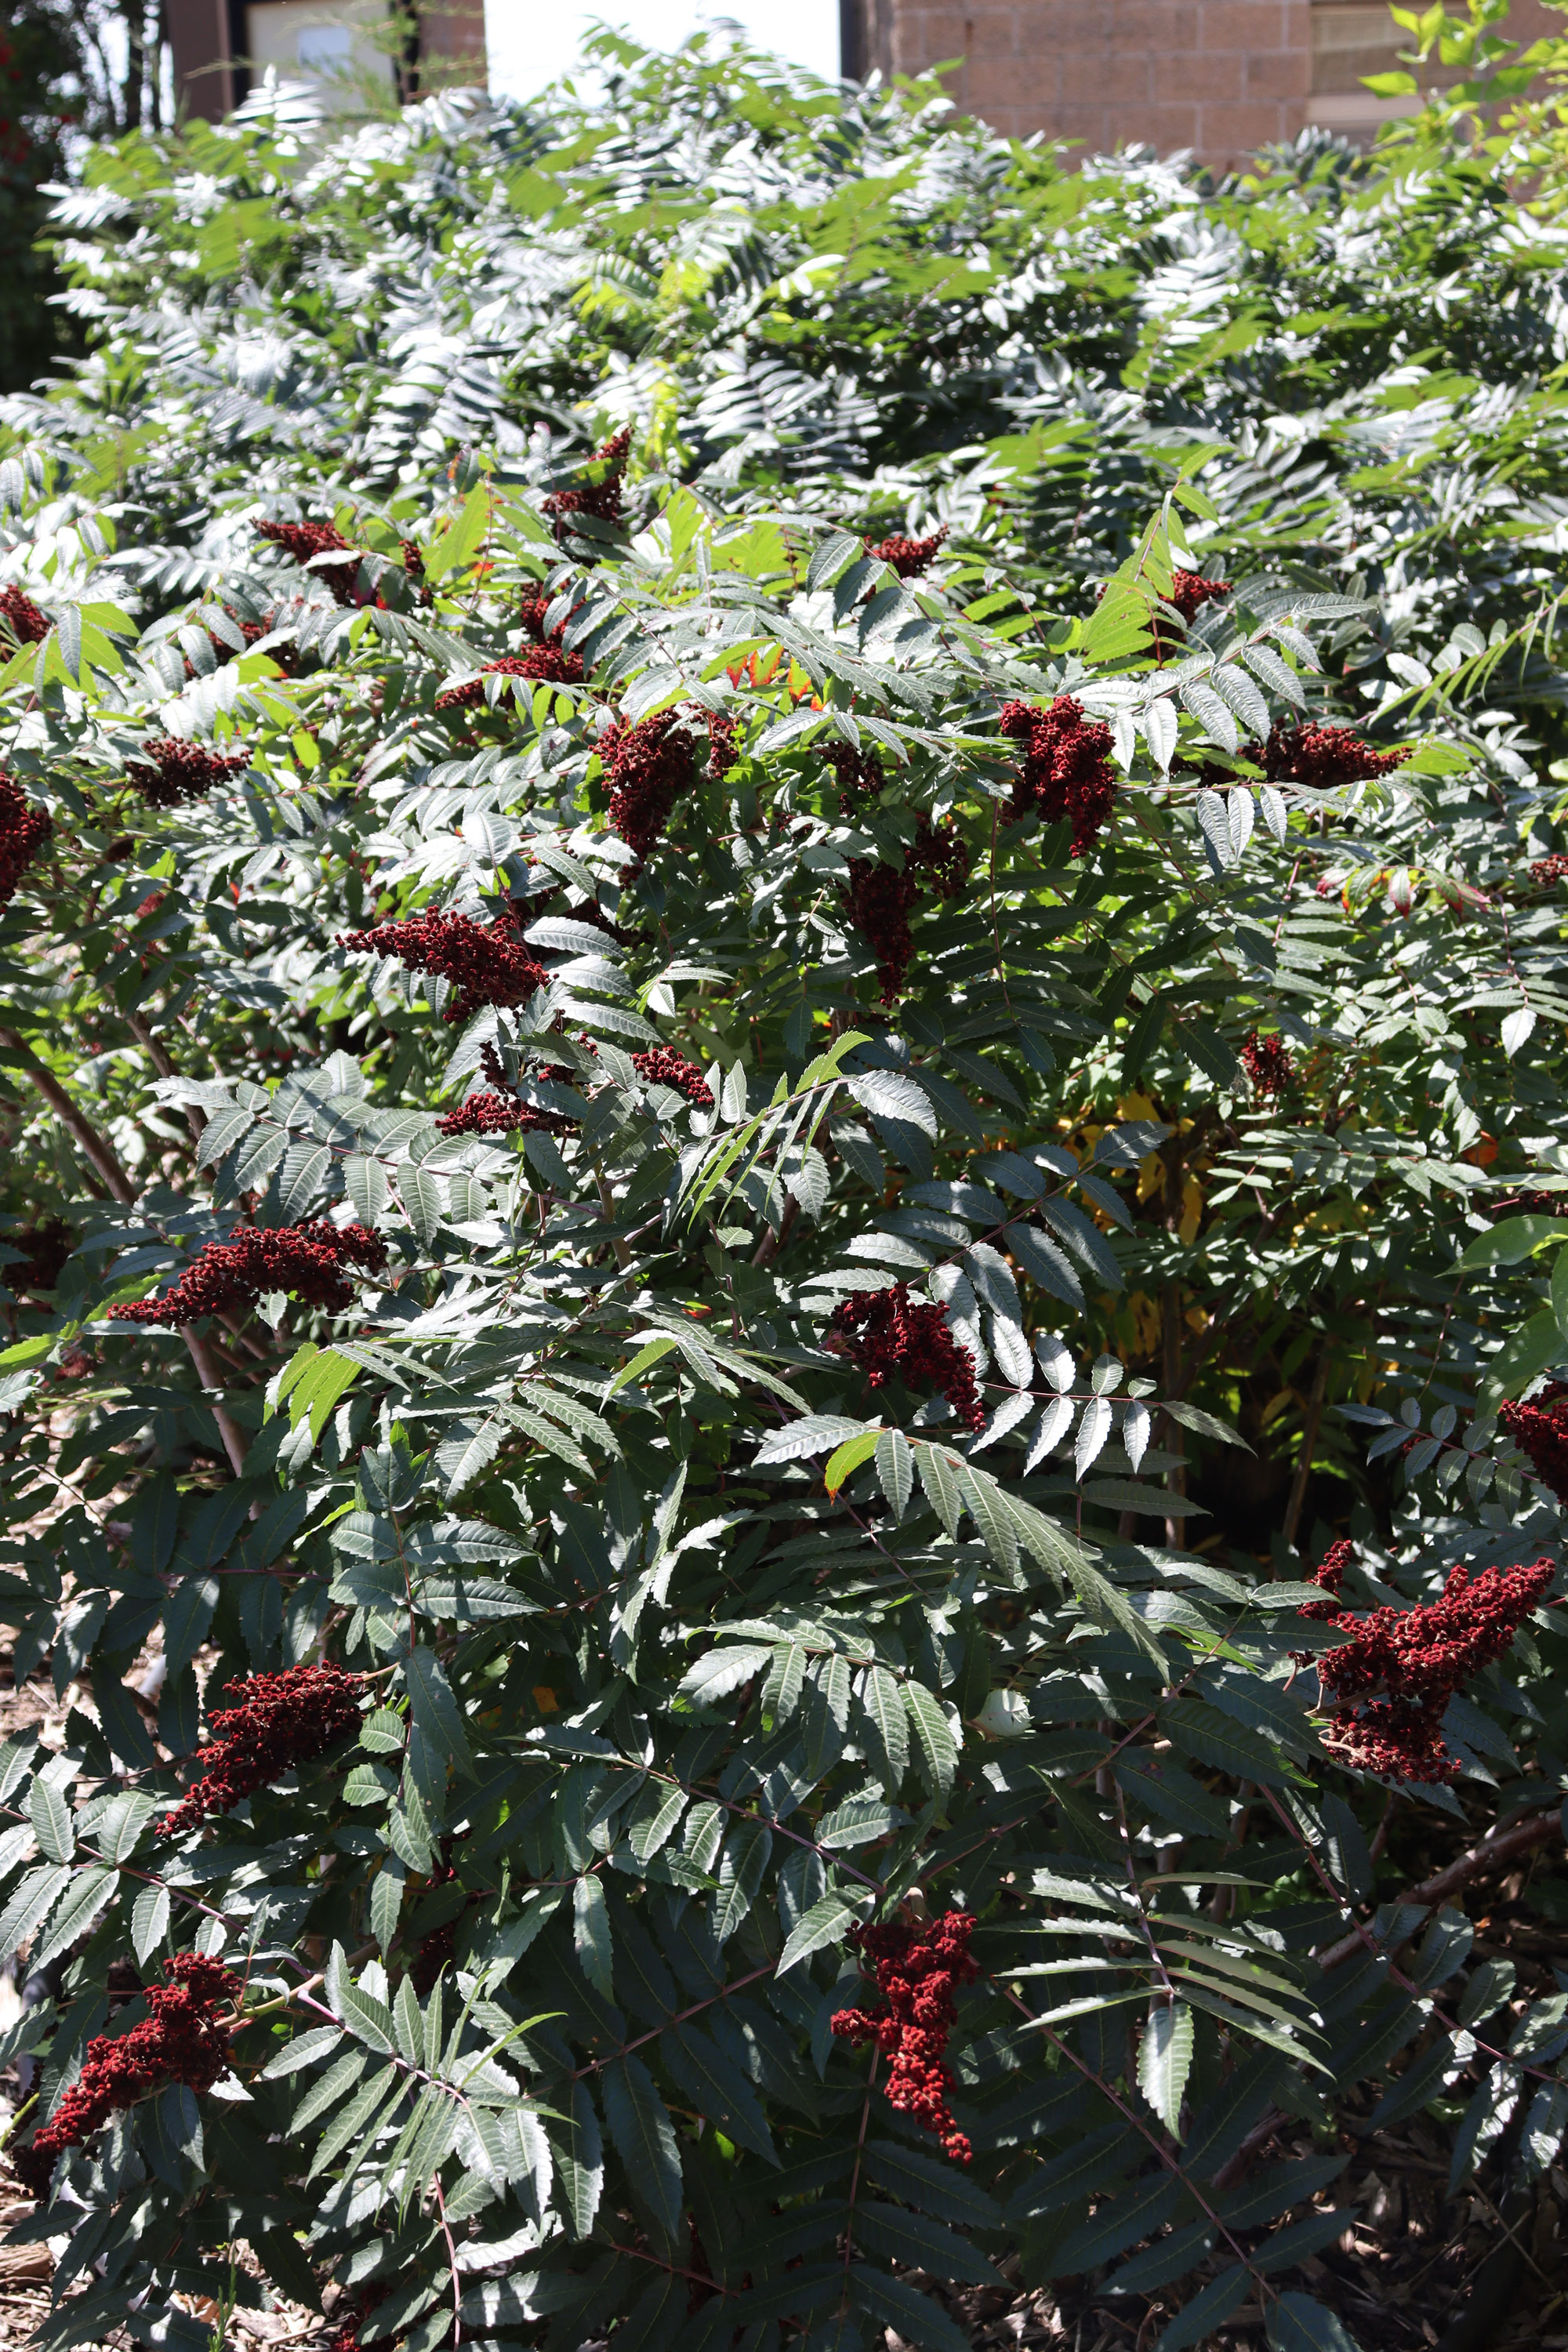
Smooth sumac with berries. These berries stay around all winter and are a great food for birds.
Beyond the garden, we have two old tree rows that flank the museum. Many of the trees are old and the north side is wildly overgrown. Cleanup of the tree rows has been slow, but as we clear away deadfall and tangles of Virginia creeper (a native climbing vine that’s a nuisance to other plants), areas of opportunity open.
In the southern tree row, a large bald area has appeared where a fallen tree was removed. In its place, I plan to eventually add native flower beds to complement the nearby picnic area. In the north row, there is open space between the rows that I think will be perfect for a native grove of shrubs and trees.
While it is my responsibility to maintain the garden, I do try to delegate the weeding and general maintenance, which is never-ending. Part of the garden plan takes ease of maintenance into account. One way I’ve tried to achieve that is by creating dedicated beds for each plant and filling the space between with a deep layer of mulch. The mulch helps keep weeds down outside of the beds and makes it easier to explain to our summer staff and volunteers where to pull weeds. Not everyone enjoys gardening, and I’ve tried to take people’s plant blindness into account.
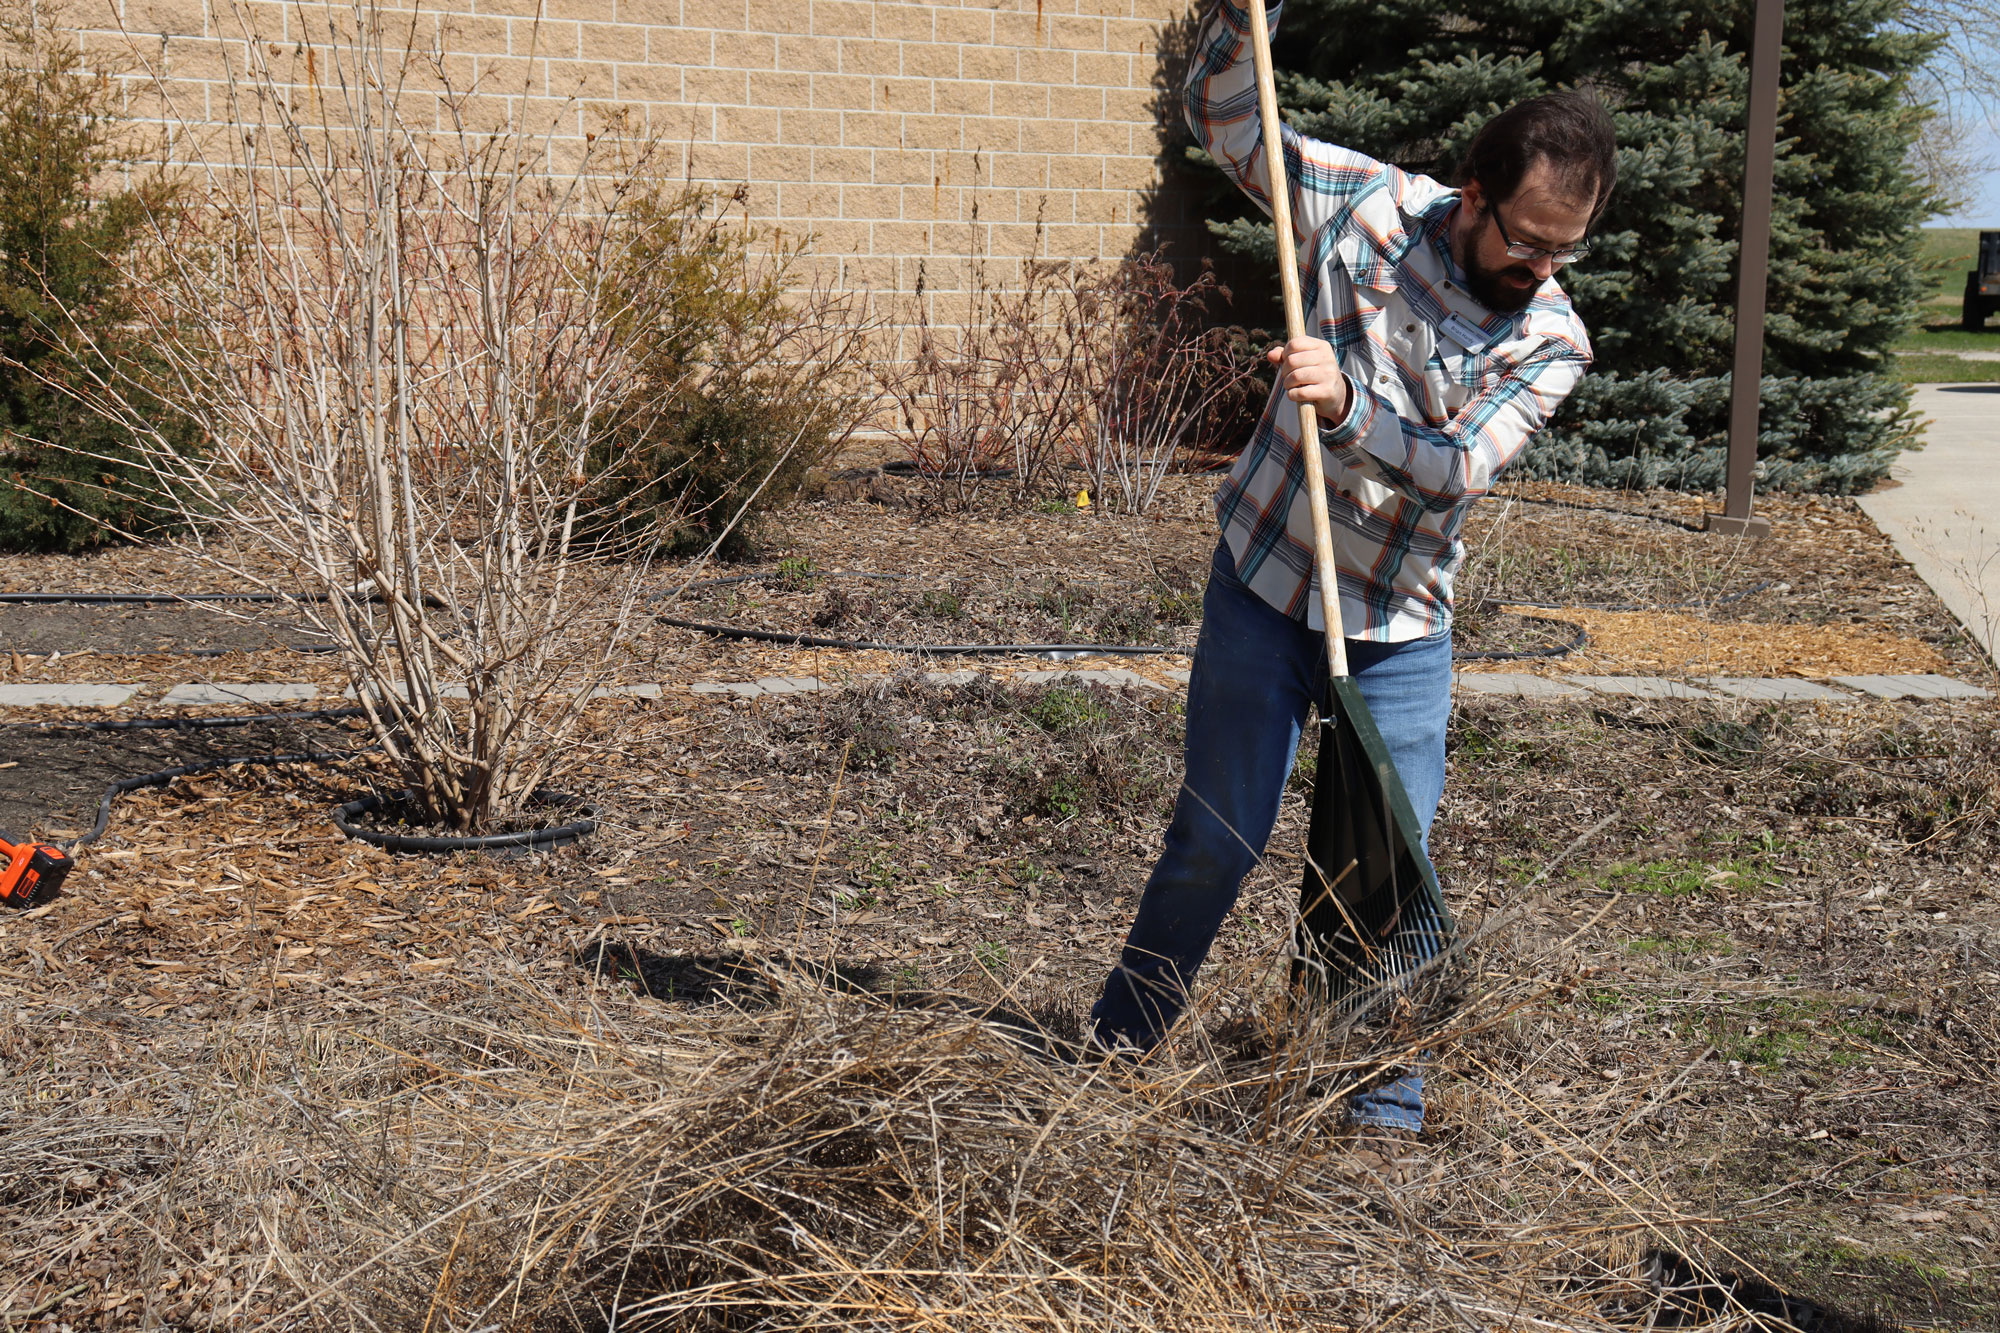
Spring cleanup begins by clearing away last year’s debris.
The prevalence of plant blindness, the inability to identify or differentiate plants, was never something I noticed until I was working on the museum garden. According to a recent presentation by Extensions Program Coordinator at North Dakota State University Paula Comeau, most people have established their concept of a plant by age 9 and carry that concept into adulthood. If kids aren’t exposed to plants and don’t learn about them, they will lack the ability to identify them as adults.
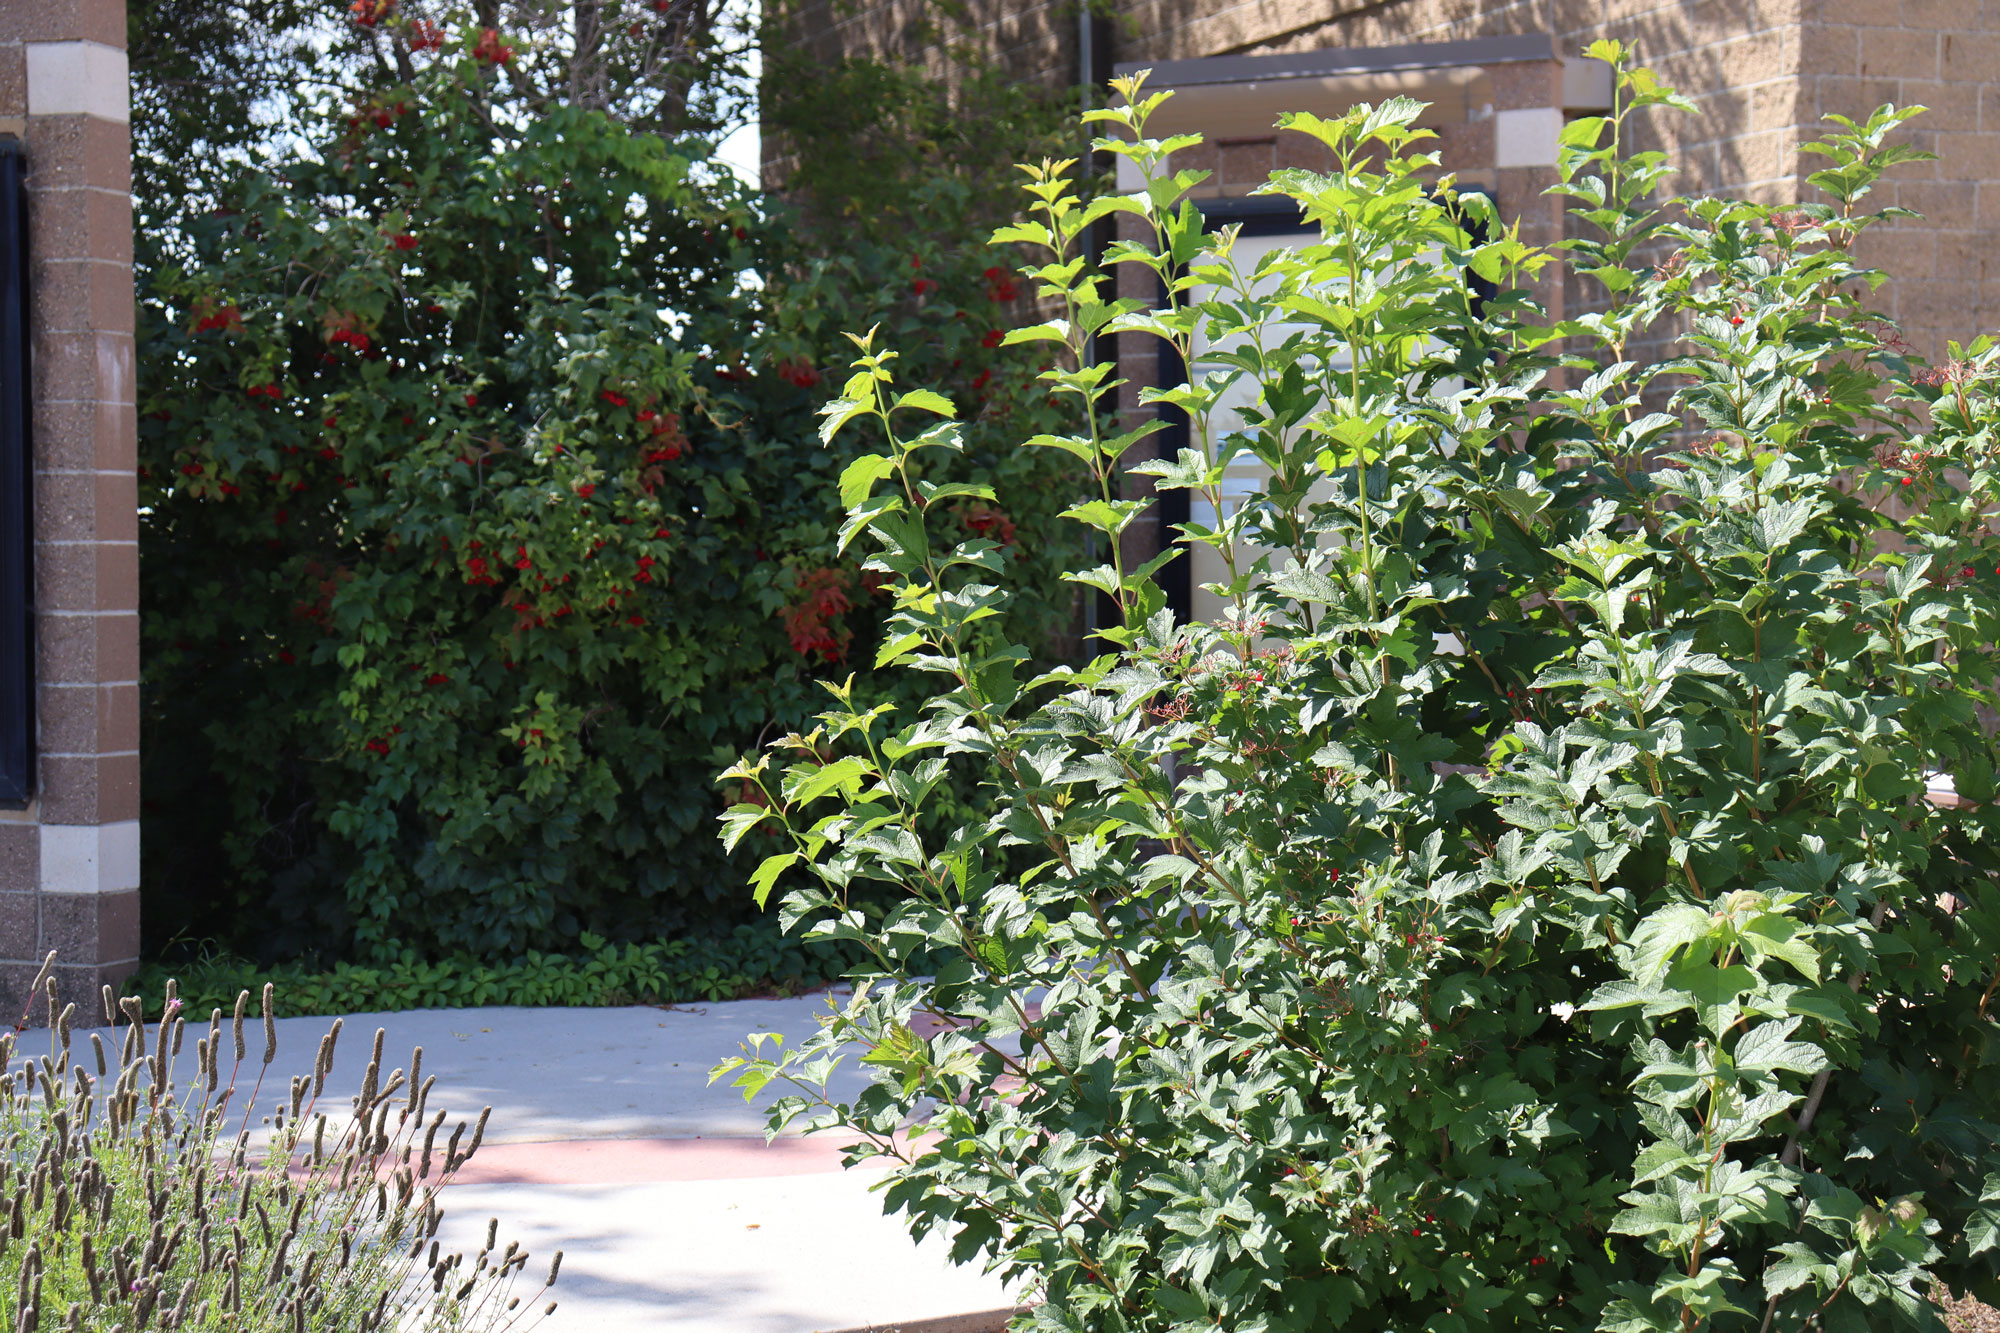
The highbush cranberry, also known as “summer berry” to local Chippewas, is a shrub that bears bright red berries beginning in summer that don’t ripen until the first frost and stay on the vine through winter. The Pembina River and the town of Pembina are both named for this native bush.
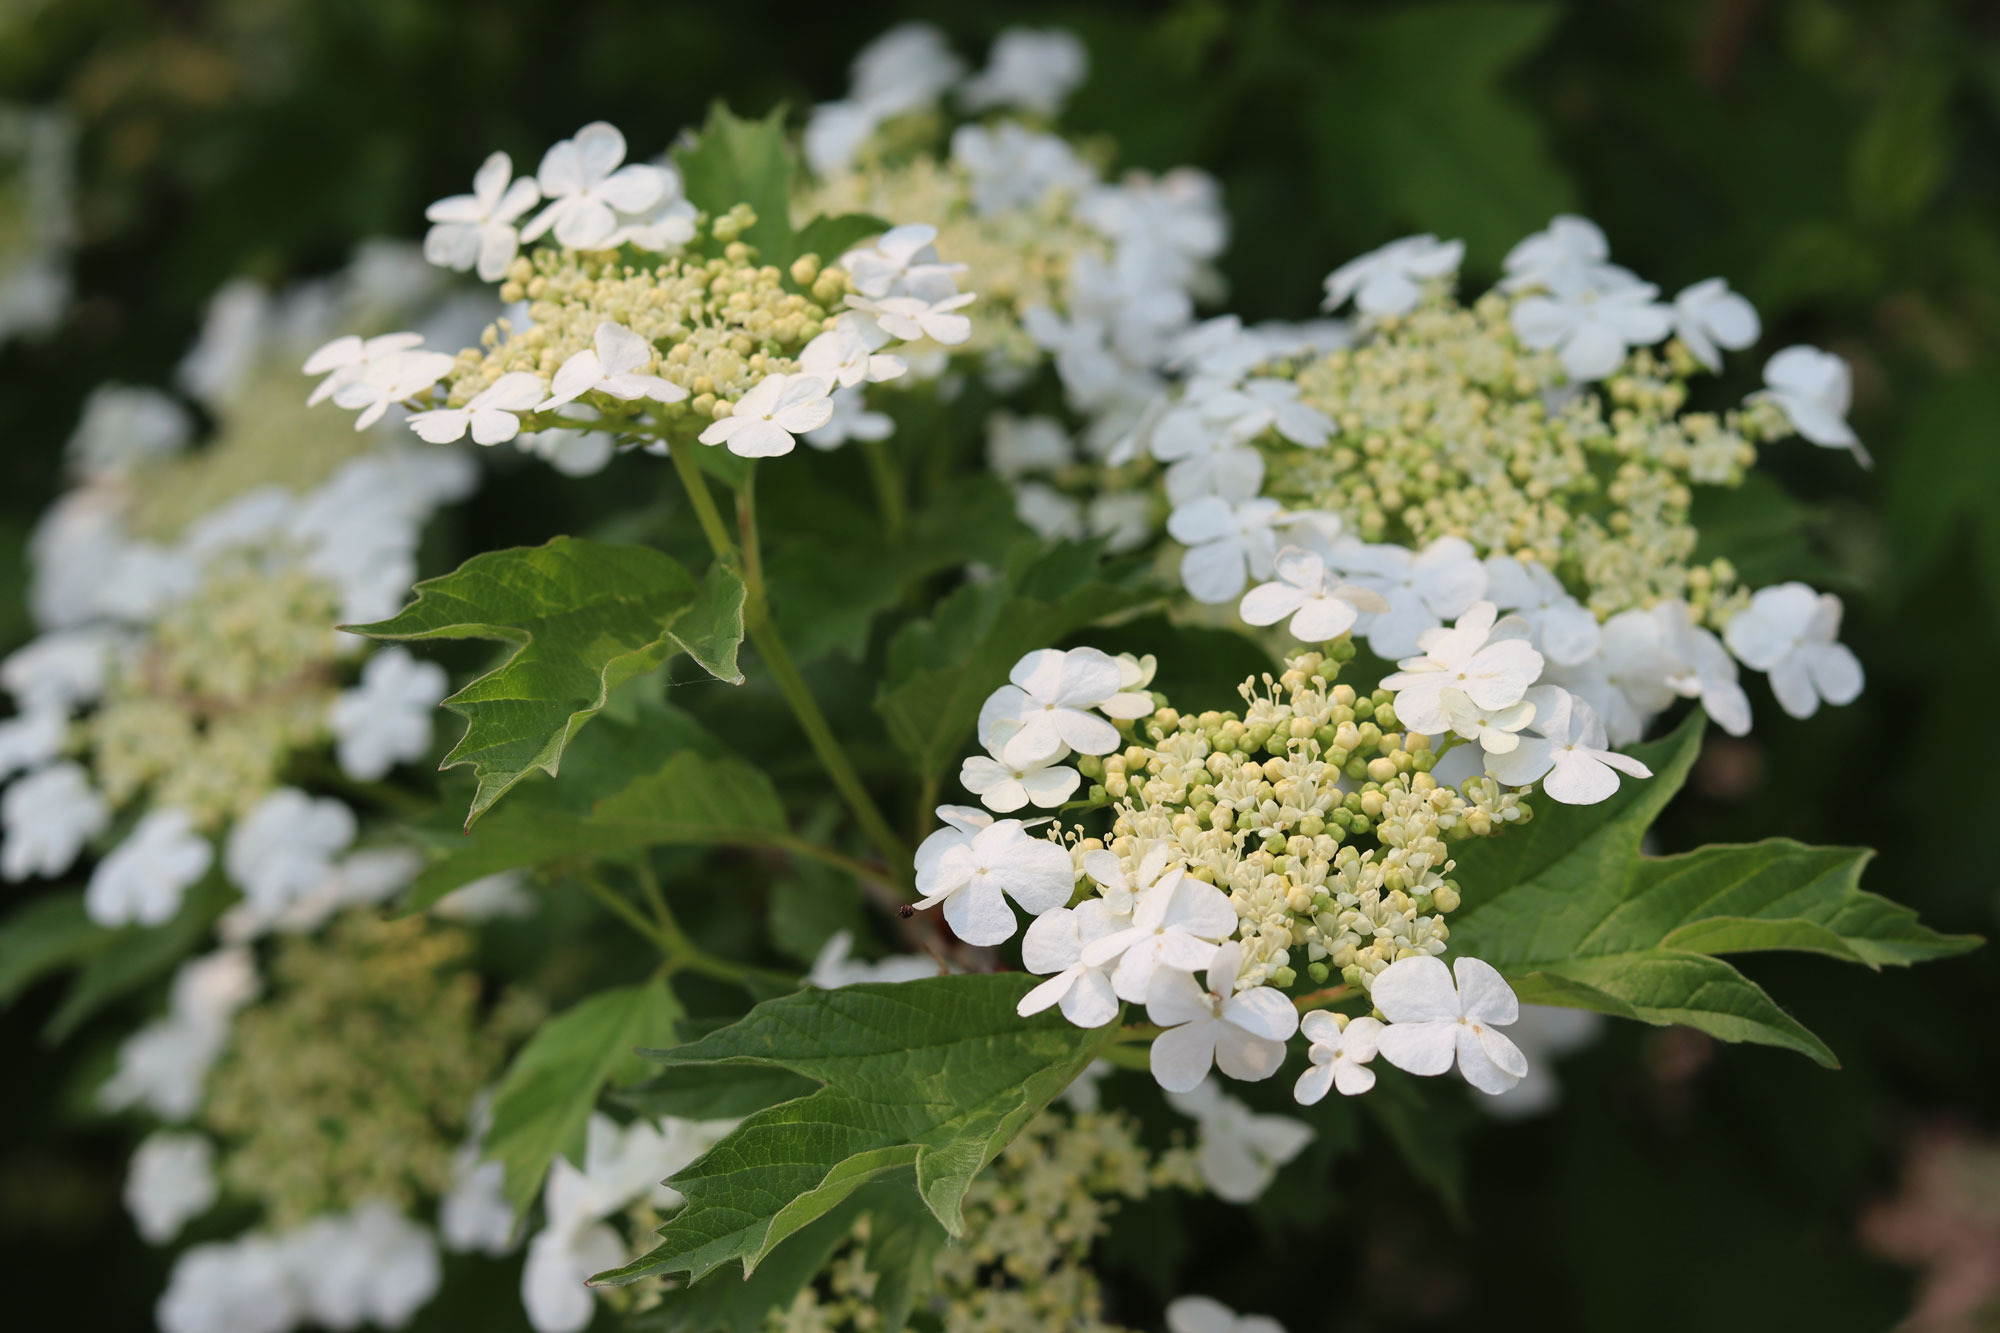
Highbush cranberry in bloom.
Comeau’s research inspired me to develop a program using our interpretive garden. Later this summer, I’ll be hosting various plant drawing programs to introduce visitors to the basics of botany. They’ll be given art supplies and told to draw their favorite plant on the grounds. Then they’ll exchange drawings with another visitor and try to identify the plant drawn. By encouraging people to pay closer attention to the details in various plants and arming them with the knowledge of where the plants grow and what they are good for, I aim to help revive old skills once crucial to life in the region—or at least revive an appreciation for the natural environment around us.
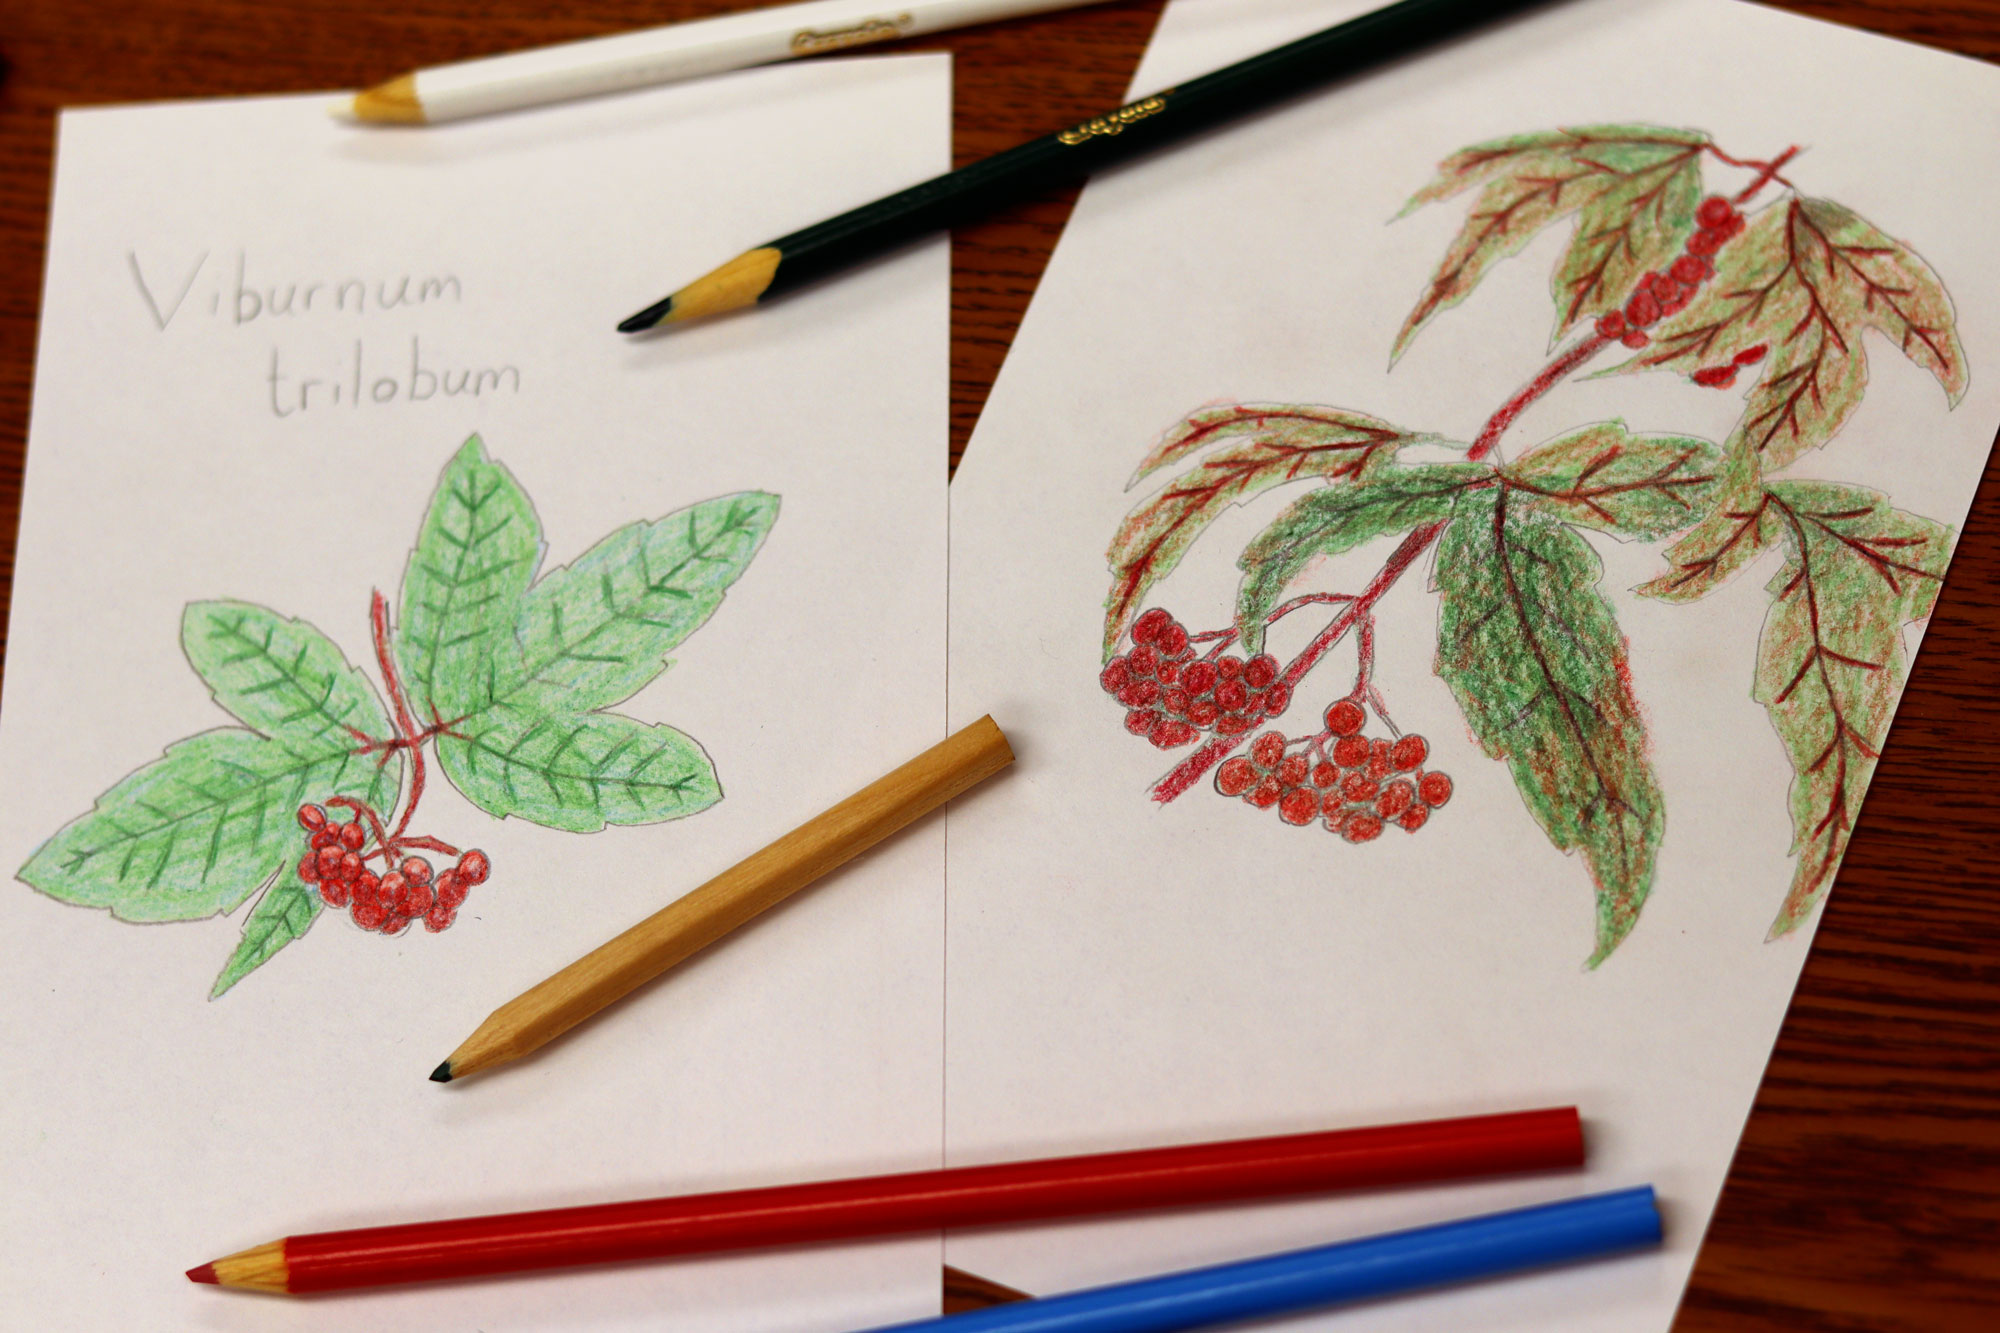
I’m no artist, but I do my best. The plant depicted is the highbush cranberry. Can you tell? Later this year, visitors to the Pembina State Museum will have a chance to draw their favorite plant from the museum grounds and learn more about it in upcoming programs.
Work goes on, and with each growing season that passes the museum grounds become ever more alive with native plants. Hopefully our late spring won’t be paired with an early autumn and I’ll get plenty of time to work outside in the garden. We invite visitors to enjoy our garden and learn a little from it, too.
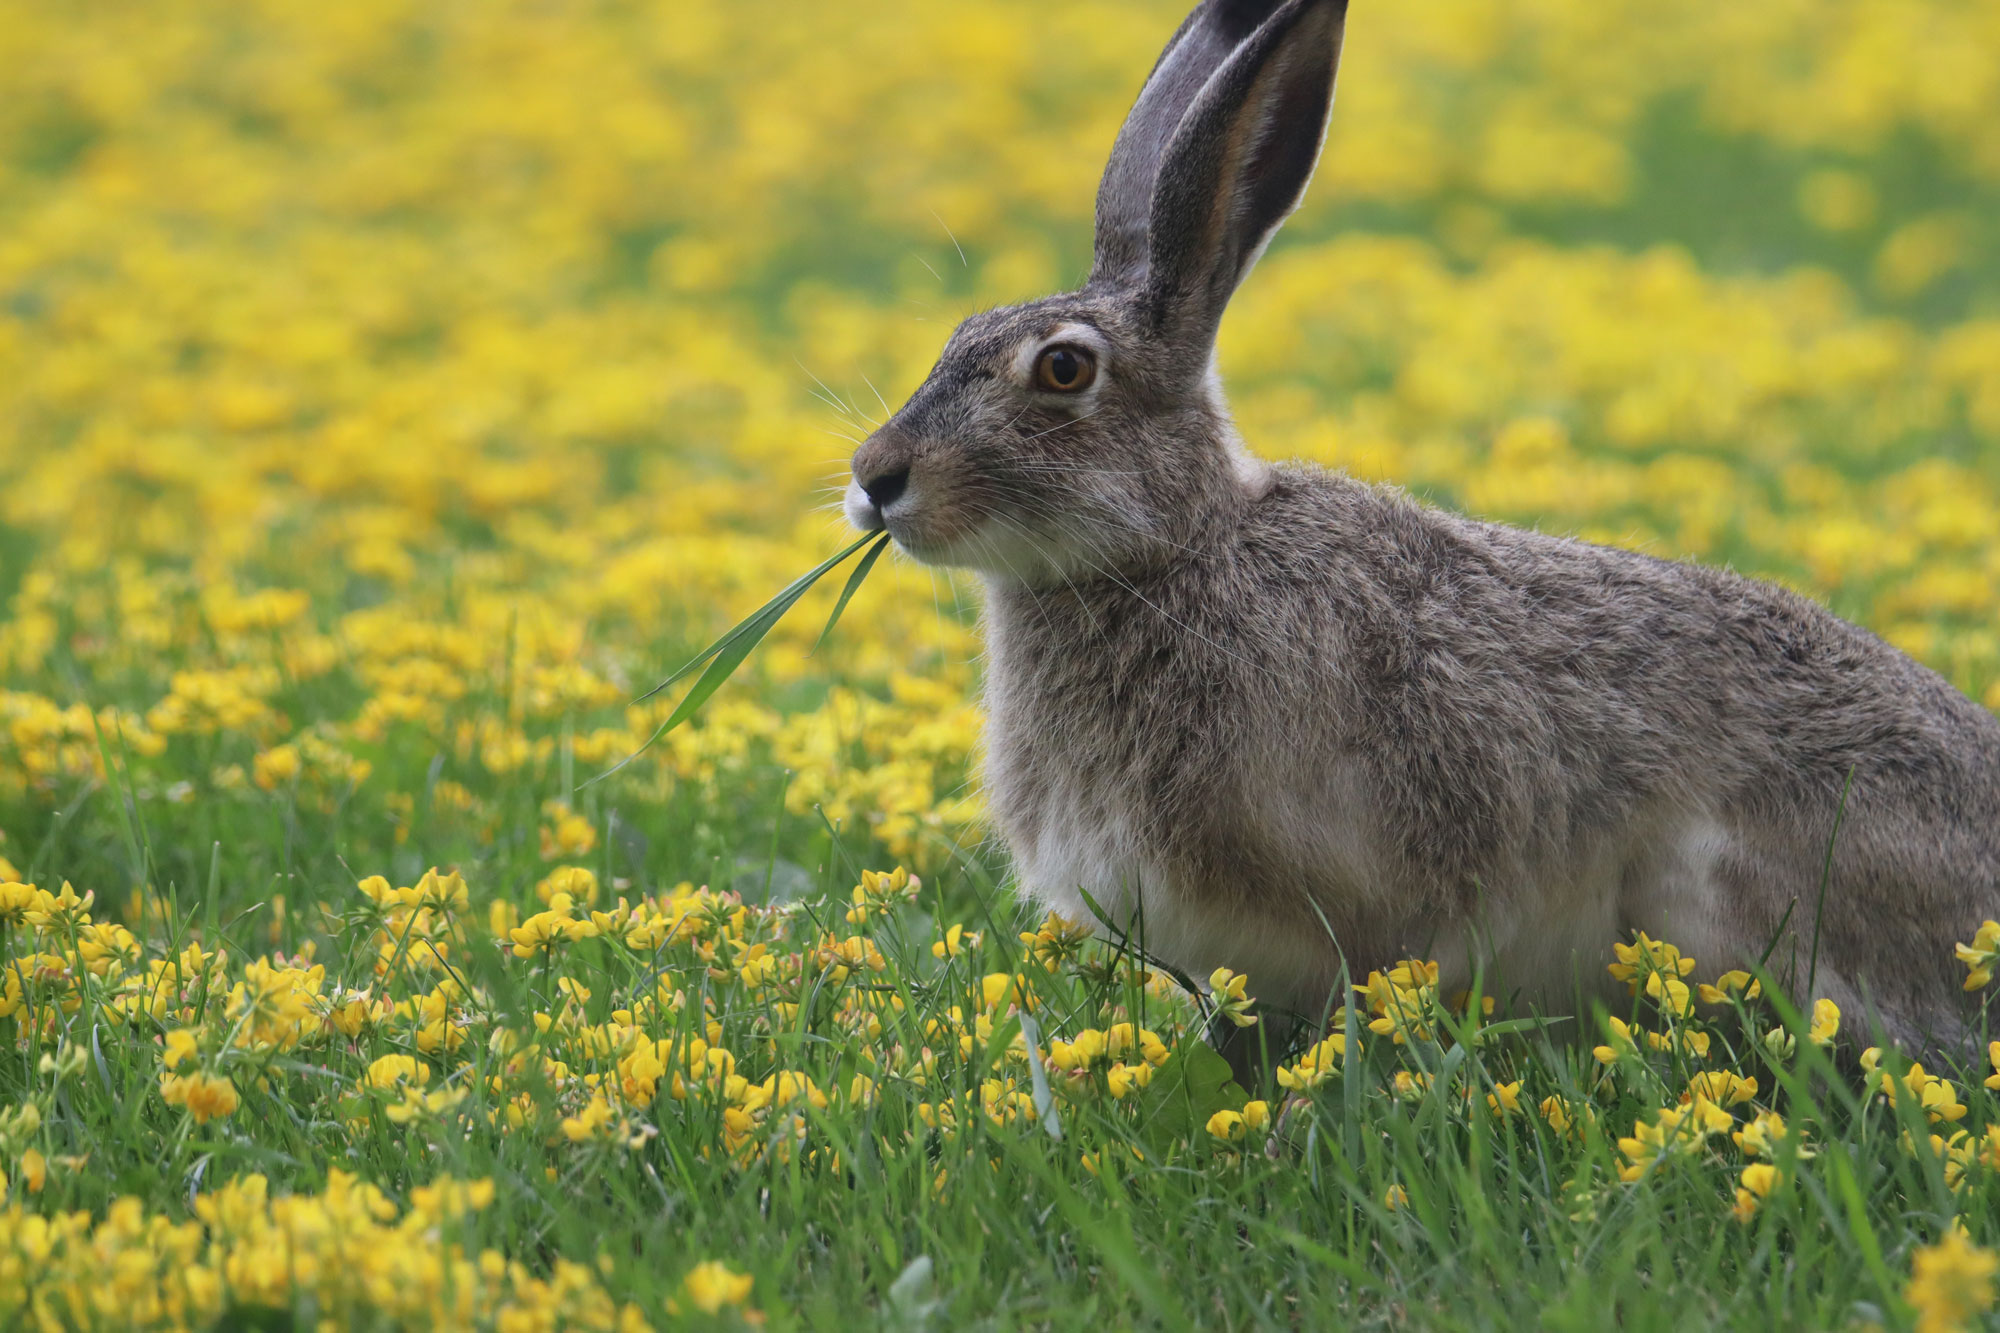
Our resident jackrabbit also enjoys the spring flowers.