State Archives Adjusts to Life During a Pandemic
Winter is upon us, and the holidays are in full swing. At the State Archives, we have had to make some adjustments to the reading room because of the ongoing COVID-19 pandemic. Researchers will notice several changes to procedures since the State Archives reopened to the public in late June. So far, folks seem to have adjusted well.
The biggest change is in access and hours. Before the pandemic, we were open Monday through Friday from 8 a.m.-4:30 p.m., and the second Saturday of each month from 10 a.m.-4:30 p.m., unless it was a holiday. Since reopening, our hours as well as those of the larger North Dakota Heritage Center & State Museum have adjusted, with the State Archives open from 9 a.m.-4 p.m. Monday through Friday, and 11 a.m.-4 p.m. on the second Saturday of the month. We use our time at work before and after opening hours to prepare for the day and take care of email requests.
In addition to shortened hours, access to the reading room is by appointment only, with visitors capped at no more than six at any given time to maintain social distancing. Researchers are requested to contact us ahead of time via email at archives@nd.gov, or by phone at 701.328.2091, to schedule an appointment. This has worked well in most cases, and we have only hit maximum capacity a handful of times.
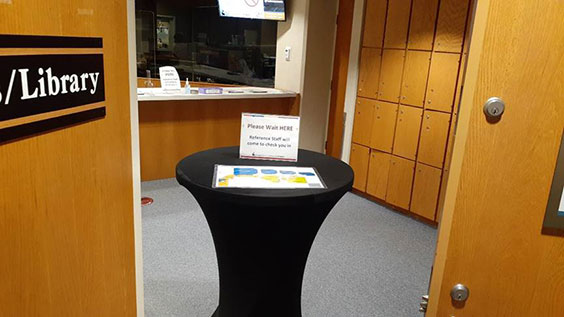
Visitors to the State Archives must now wait at the entrance for a member of the reference team to come and speak with them.
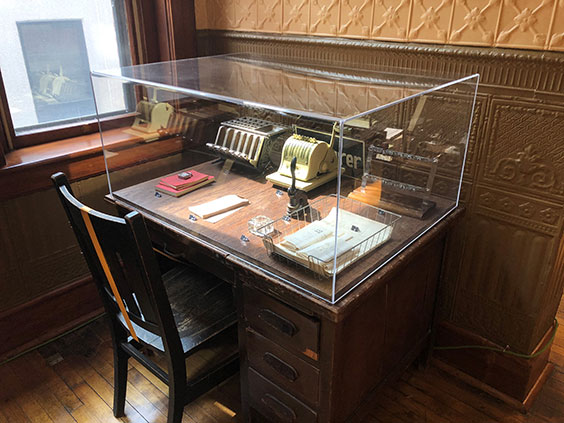
Social distancing has also necessitated some changes to the reading room beyond shortened hours and limited capacity. We have had to shift equipment and furniture to maintain spacing for the safety of our visitors. The result is reduced technology available for researchers. Prior to closing for the pandemic, we had six microfilm readers/printers and six computers available for research. In order to space everything out to maintain the recommended six feet of distance, two of our microfilm readers/printers are no longer accessible to the public. Meanwhile, four research computers along the windows are available for use. To date, it’s the microfilm readers most likely to be at capacity.

The number of available microfilm readers has been reduced due to social distancing measures.
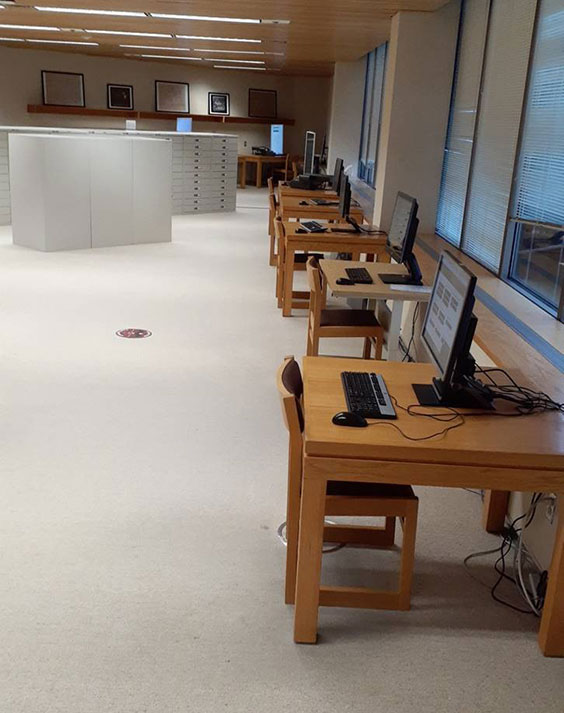
While our research computers were much closer together before the COVID-19 closure last spring, we do like how the current spacing gives patrons a little more privacy, too.
Access to our materials has also changed since reopening. While our microfilm is still self-service, before the closure patrons would leave the film on top of the cabinets for staff to put up at the end of the day. Now we have patrons place used rolls into a white box. Used microfilm is held for 24 hours before we return it to the cabinets. In addition, our physical collections, such as manuscripts and state government records, require a 24-hour notice, so we can pull them down for quarantine. Researchers wanting to look at collections need to plan in advance because we are no longer able to pull materials the same day.
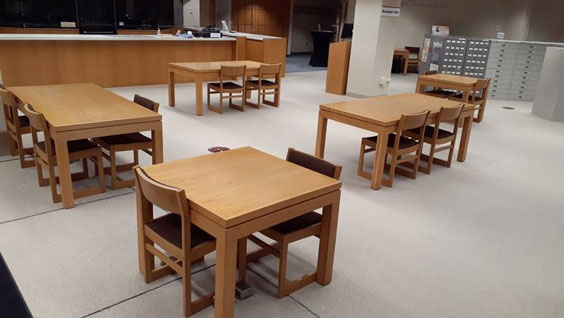
Tables in the reading room are spaced to ensure proper social distancing is maintained.
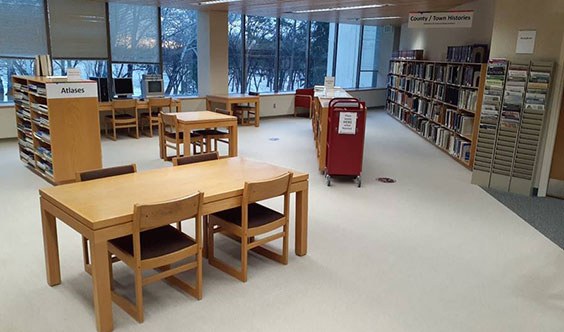
When they are finished, patrons must now leave books on the red cart so that staff can quarantine the materials.
In addition to these measures, we sanitize the equipment after each patron has used it to ensure a cleaner environment. We also have hand sanitizer placed around the reading room. As is the case in the rest of the Heritage Center, masks are required for visitors. Compliance with and understanding of the various changes has been positive, with folks happy to have us open again. As always, we continue to provide remote reference services via email and phone.
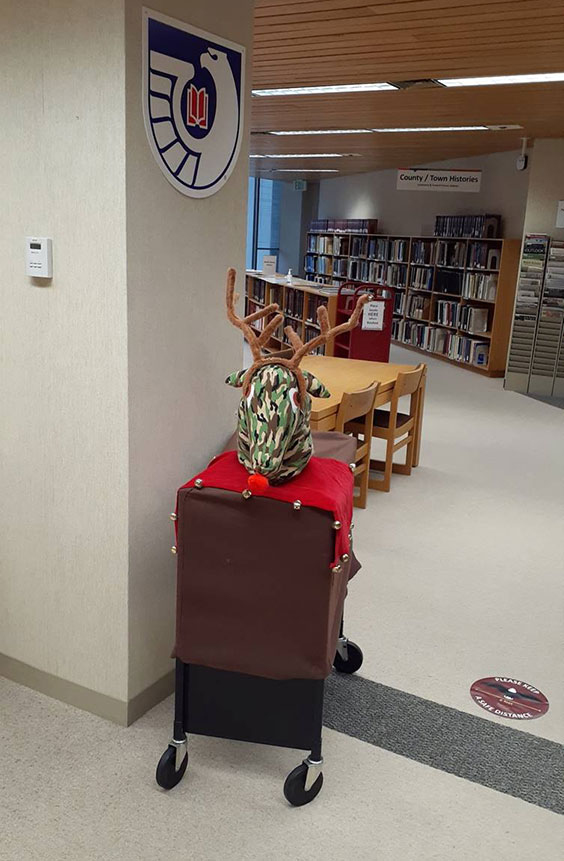
Olive, the other reindeer, unofficial holiday mascot of the State Archives, was the creation of retired State Archivist Ann Jenks.
Finally, with the holiday season upon us, our mascot, Olive, the other reindeer, has taken up residence in the reading room to guard it and ensure folks adhere to the new rules. While it has been an adjustment for us as well, we are making the best of a unique situation while continuing to provide the valuable services of the State Archives. Have a wonderful holiday season and a safe remainder of the year. Here’s hoping 2021 will see an end to this pandemic.